Donor, Batch Donation Entry
In addition to using the standard donation form for entering new donations, you may also use one of the two batch entry forms. These forms are designed for rapid entry of donations, and feature a single window which has all of the essentials needed to lookup donors by multiple search fields and add gifts in one integrated form.
Standard Batch Donation Entry
The standard batch donation entry option should be used if you will be searching for the donor/prospect by various fields (such as name, address, etc.), and you will possibly be adding donations for new donors who are not yet in the database. To begin a standard batch donation entry session, click on Donor, Batch Donation Entry. You will then see the following dialog:
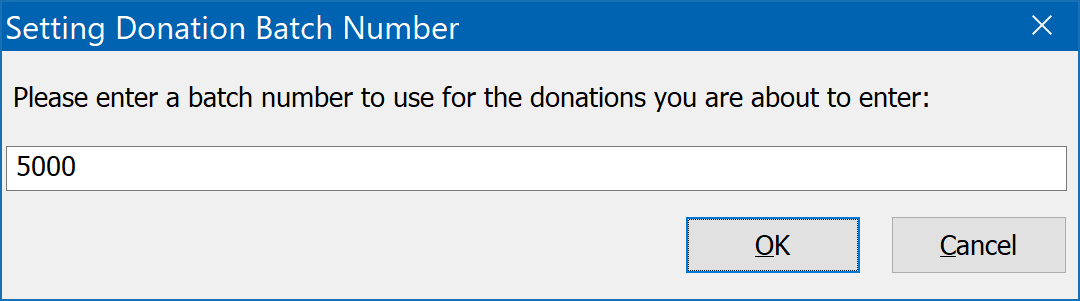
Every batch donation entry session in DonorQuest is assigned a unique batch number, which is stamped into each donation added during the session. DonorQuest will default to the next available batch number, which is normally one more than the previous batch number. You may enter a special number for your donation batch if you wish, but normally it is best to simply accept the batch number DonorQuest suggests. Click OK on the above dialog to accept the entry. You will then see the standard batch entry form which looks like this:
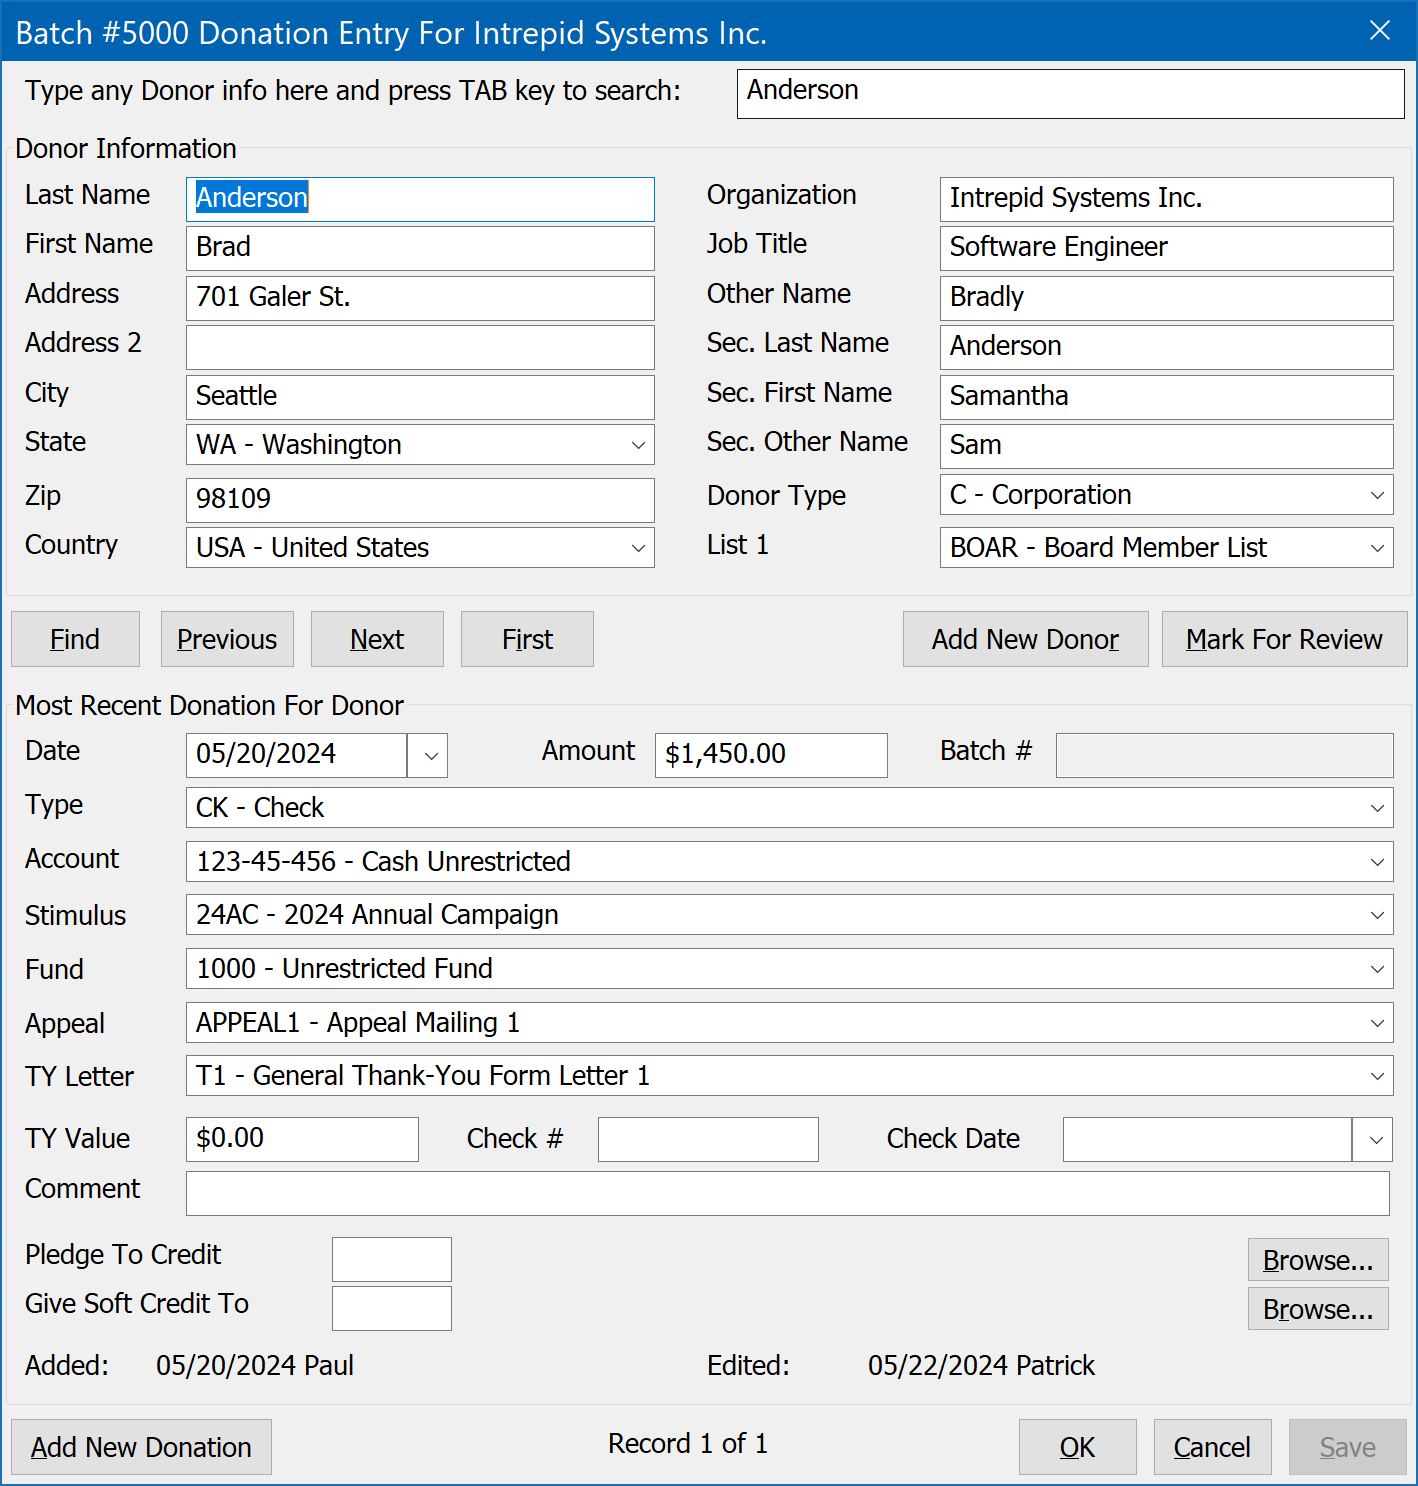
When the form first appears, it will position itself on the first donor in the database, showing their address and most recent donation. Since the batch entry form is designed for speedy data entry, all of the buttons on this form have shortcut keys. So you can search donor records and add new donations all without moving your hands away from the keyboard to click with the mouse. Following is a discussion of the buttons of this form, along with their keyboard shortcut keys:
The Find, Previous, and Next Buttons
The Find button here behaves just like the regular Find button of the Main Information view of donor records. It shows the Find dialog which lets you search by various fields. However, instead of showing you a data grid of all name/address records matching your search, the first matching record is shown in the batch entry form, and you may use the Next and Previous buttons to view each matching record until the correct one is found. If no existing name/address record is found for the new donation, or if you know in advance you are only adding donations for new donors, you can click on the New Donor button to add a completely new donor record. The shortcut keys for these buttons are Alt-F, Alt-P, Alt-N, and Alt-O. If you have the Flex Find feature enabled for your user account, you will also see a Flex Find search control at the top of the batch form which you may use for searching just as you do in the regular Main Information window. When using Flex Find here, press the Tab key to begin the search, since in the batch form, pressing the Enter (or Return) is reserved for saving a new donation.
The First Button
The First button will move to the first name/address record on file, or if you have done a Find or Flex Find, it will move to the first record matching your search. Keyboard shortcut is Alt-I (since Alt-F was used for Find).
The New Donor, And Mark For Review Buttons
The New Donor button will immediately add a new name/address record. Normally this button is used after you have first tried to find an existing name/address record for the new donation you are about to add. If you know for sure that all of the donations you are adding are for new donors, then you can simply click the New Donor button for each donation without first doing a search. Be sure to fill in the name/address information for the new donor, then click the Save button (or type Alt-S). If you need to enter information for the new donor in fields not available in the limited batch entry form, then click the Mark For Review button (or Alt-M). This will tag the donor's account for later review in a Selection Result which will automatically be created following your batch session. This automatically created selection will give you full access to all of the data fields in DonorQuest, allowing you to fill in the additional information for the new donor. Keyboard shortcut for these buttons are Alt-R and Alt-M, respectively.
The New Donation Button
The New Donation button (or Alt-A) will begin entry of a new donation for the currently displayed donor. If you have donation defaults set, they will be automatically loaded into the donation fields. When you have entered all of the information for the new donation, click the Save button (or type Alt-S) to save it.
The Ok, Cancel, and Save Buttons
The Save button performs double-duty, being used to save a new donor's name/address information (or edit changes to an existing name/address), and it also serves to save new donations as they are added. The OK and Cancel buttons behave as in other DonorQuest forms. Keyboard shortcuts for the OK, Cancel, and Save buttons are Alt-O, Alt-C, and Alt-S, respectively.
ID-Based Batch Donation Entry
The ID-based batch entry in DonorQuest is essentially the same as the standard batch entry, expect that it is optimized for a scenario in which you are entering donations from a solicitation of records already in DonorQuest. So you know in advance that you will not be adding any new constituent (name/address) records, but rather only looking up existing constituents to add gifts for. It is also designed specifically for the case in which the unique donor ID number from DonorQuest has been included in the solicitation you sent out for which you are now receiving donations, so that you have it handy from the donation response cards when you are entering the gift. The ID number allows you to precisely lookup the exact donor account for the new gift by entering the donor ID number in the search blank at the top of the ID-Based batch entry form, as shown here:

Pressing the Tab key after entering the ID to search for will immediately bring up the existing account, allowing you to proceed with the entry of the new donation. Because the search by ID is precise, there are no navigation buttons on this form. But otherwise it behaves the same as the standard batch entry form. This form also works well when you have the Donor ID encoded in a bar code on the donation response cards - all you have to do is scan the bar code to bring up the correct constituent. Such a bar code could also be used to automatically populate specific key fields for the new donation, such as the Donation Stimulus.