You may limit which Main Information Edit tabs a user has access to by highlighting their user name in the User Account Setup window and clicking the Tabs button. Doing so will open the following dialog:
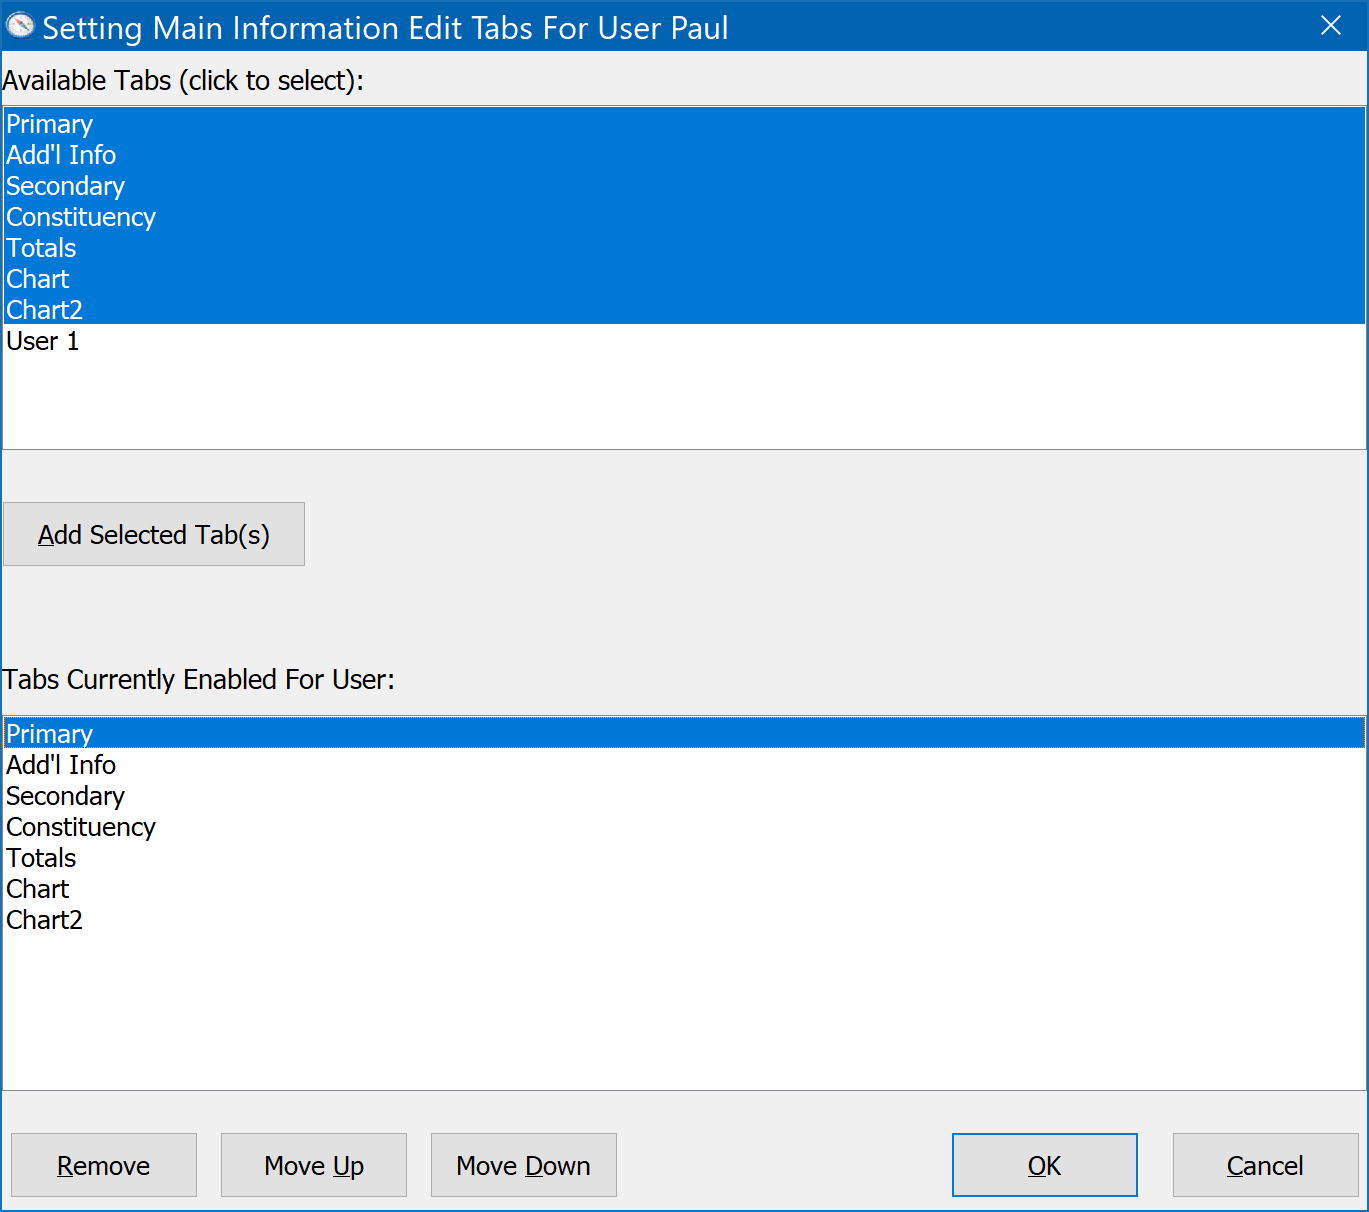
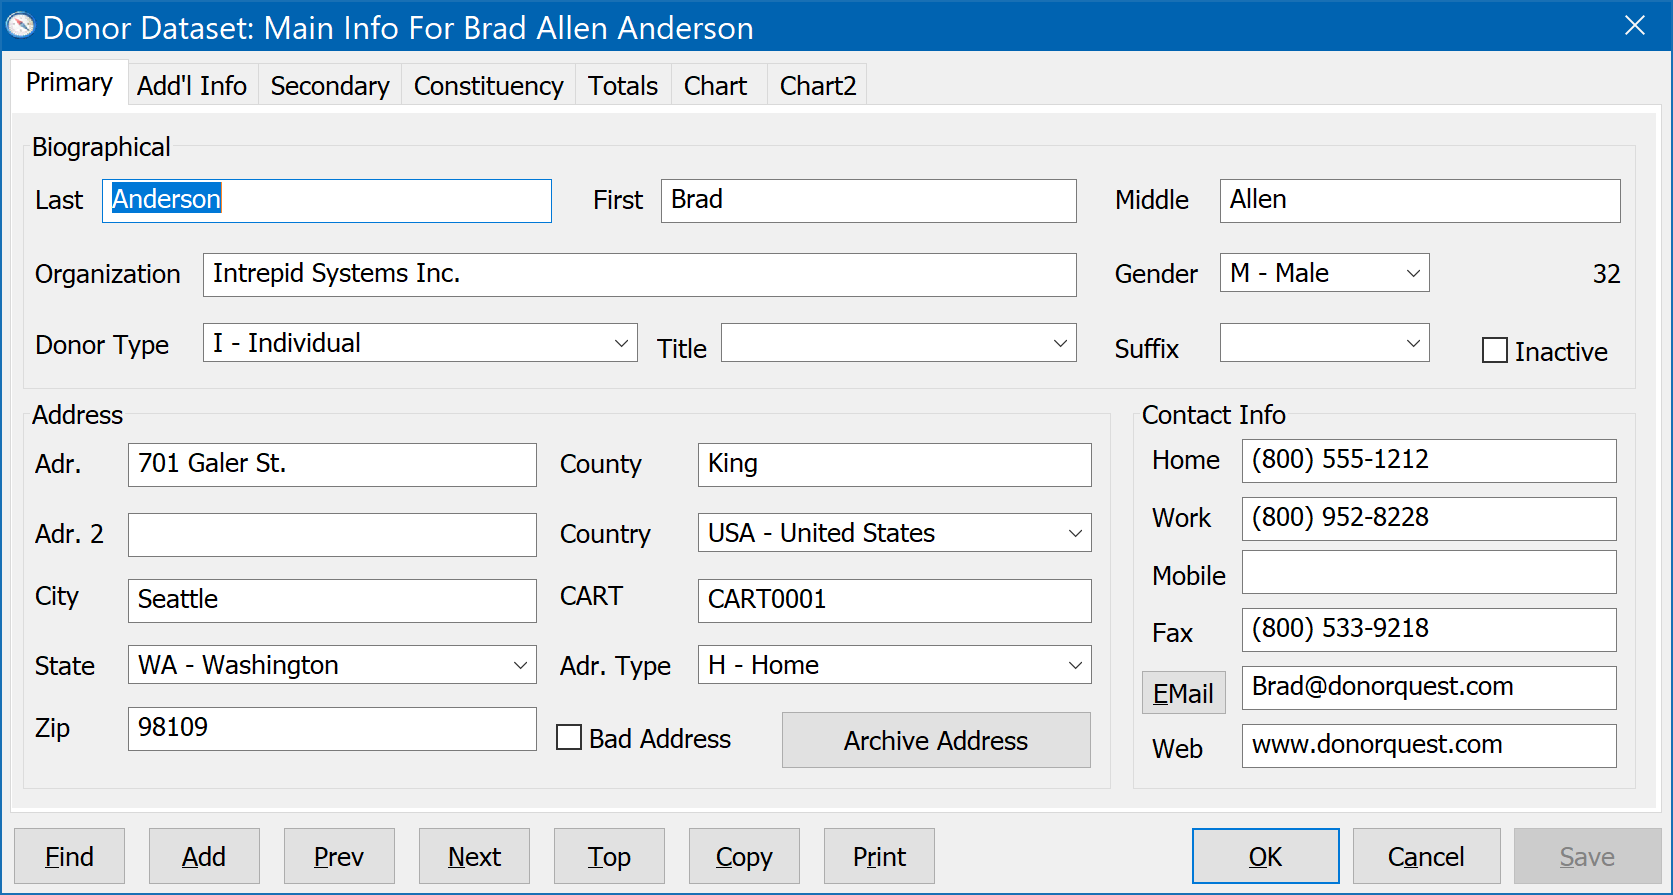
The upper half of the dialog shows the available tabs (including any user-defined tabs), and the lower half shows the tabs currently enabled for the user. You may highlight (or unhighlight) any of the available tabs in the upper window by single-clicking on them, then click the Add Selected Tab(s) button to enable them for the user. To remove access to a tab for the user, single-click the tab name in the lower window to highlight it, then click the Remove button. The Move Up and Move Down buttons allow you to control the order in which the tabs will appear to the user in the Main Information Window. The top-to-bottom order of the tabs here corresponds to the left-to-right order of the tabs in the Main Information Window. For example, the enabled tabs shown above would result in the Main Information Window looking like this:
Bestowing Tabs
Sometimes you will be adding a new user (or group of users) who you wish to have access to the same tabs as an existing user. Rather than manually selecting the tabs for each new user account, you may use the Mark button of the User Account Setup window to mark all of the user accounts you wish to have uniform tab access, then position the highlight on an existing account you want to use as the tab model for all of the accounts you have marked. Then, clicking on the Bestow Tabs button will apply the same tab access to all marked accounts based on the model account.