The Print/Setup Reports button is displayed as a printer icon on the toolbar. Clicking on this button when there are no other windows open in DonorQuest will allow you to print a report using your entire database as opposed to just selected donors within it. The previous topic on Creating Selections gave an example of first narrowing down the records you would like to print by creating a Selection, then connecting that selection to a report layout. If you click on the Print button without having the Selections window open, then the report layout you choose will decide which records to print. In many cases there would be no filtering, so all records would print. Some reports, such as the, "Header - Top 100 Donor Report", do there own filtering or internal Selection.
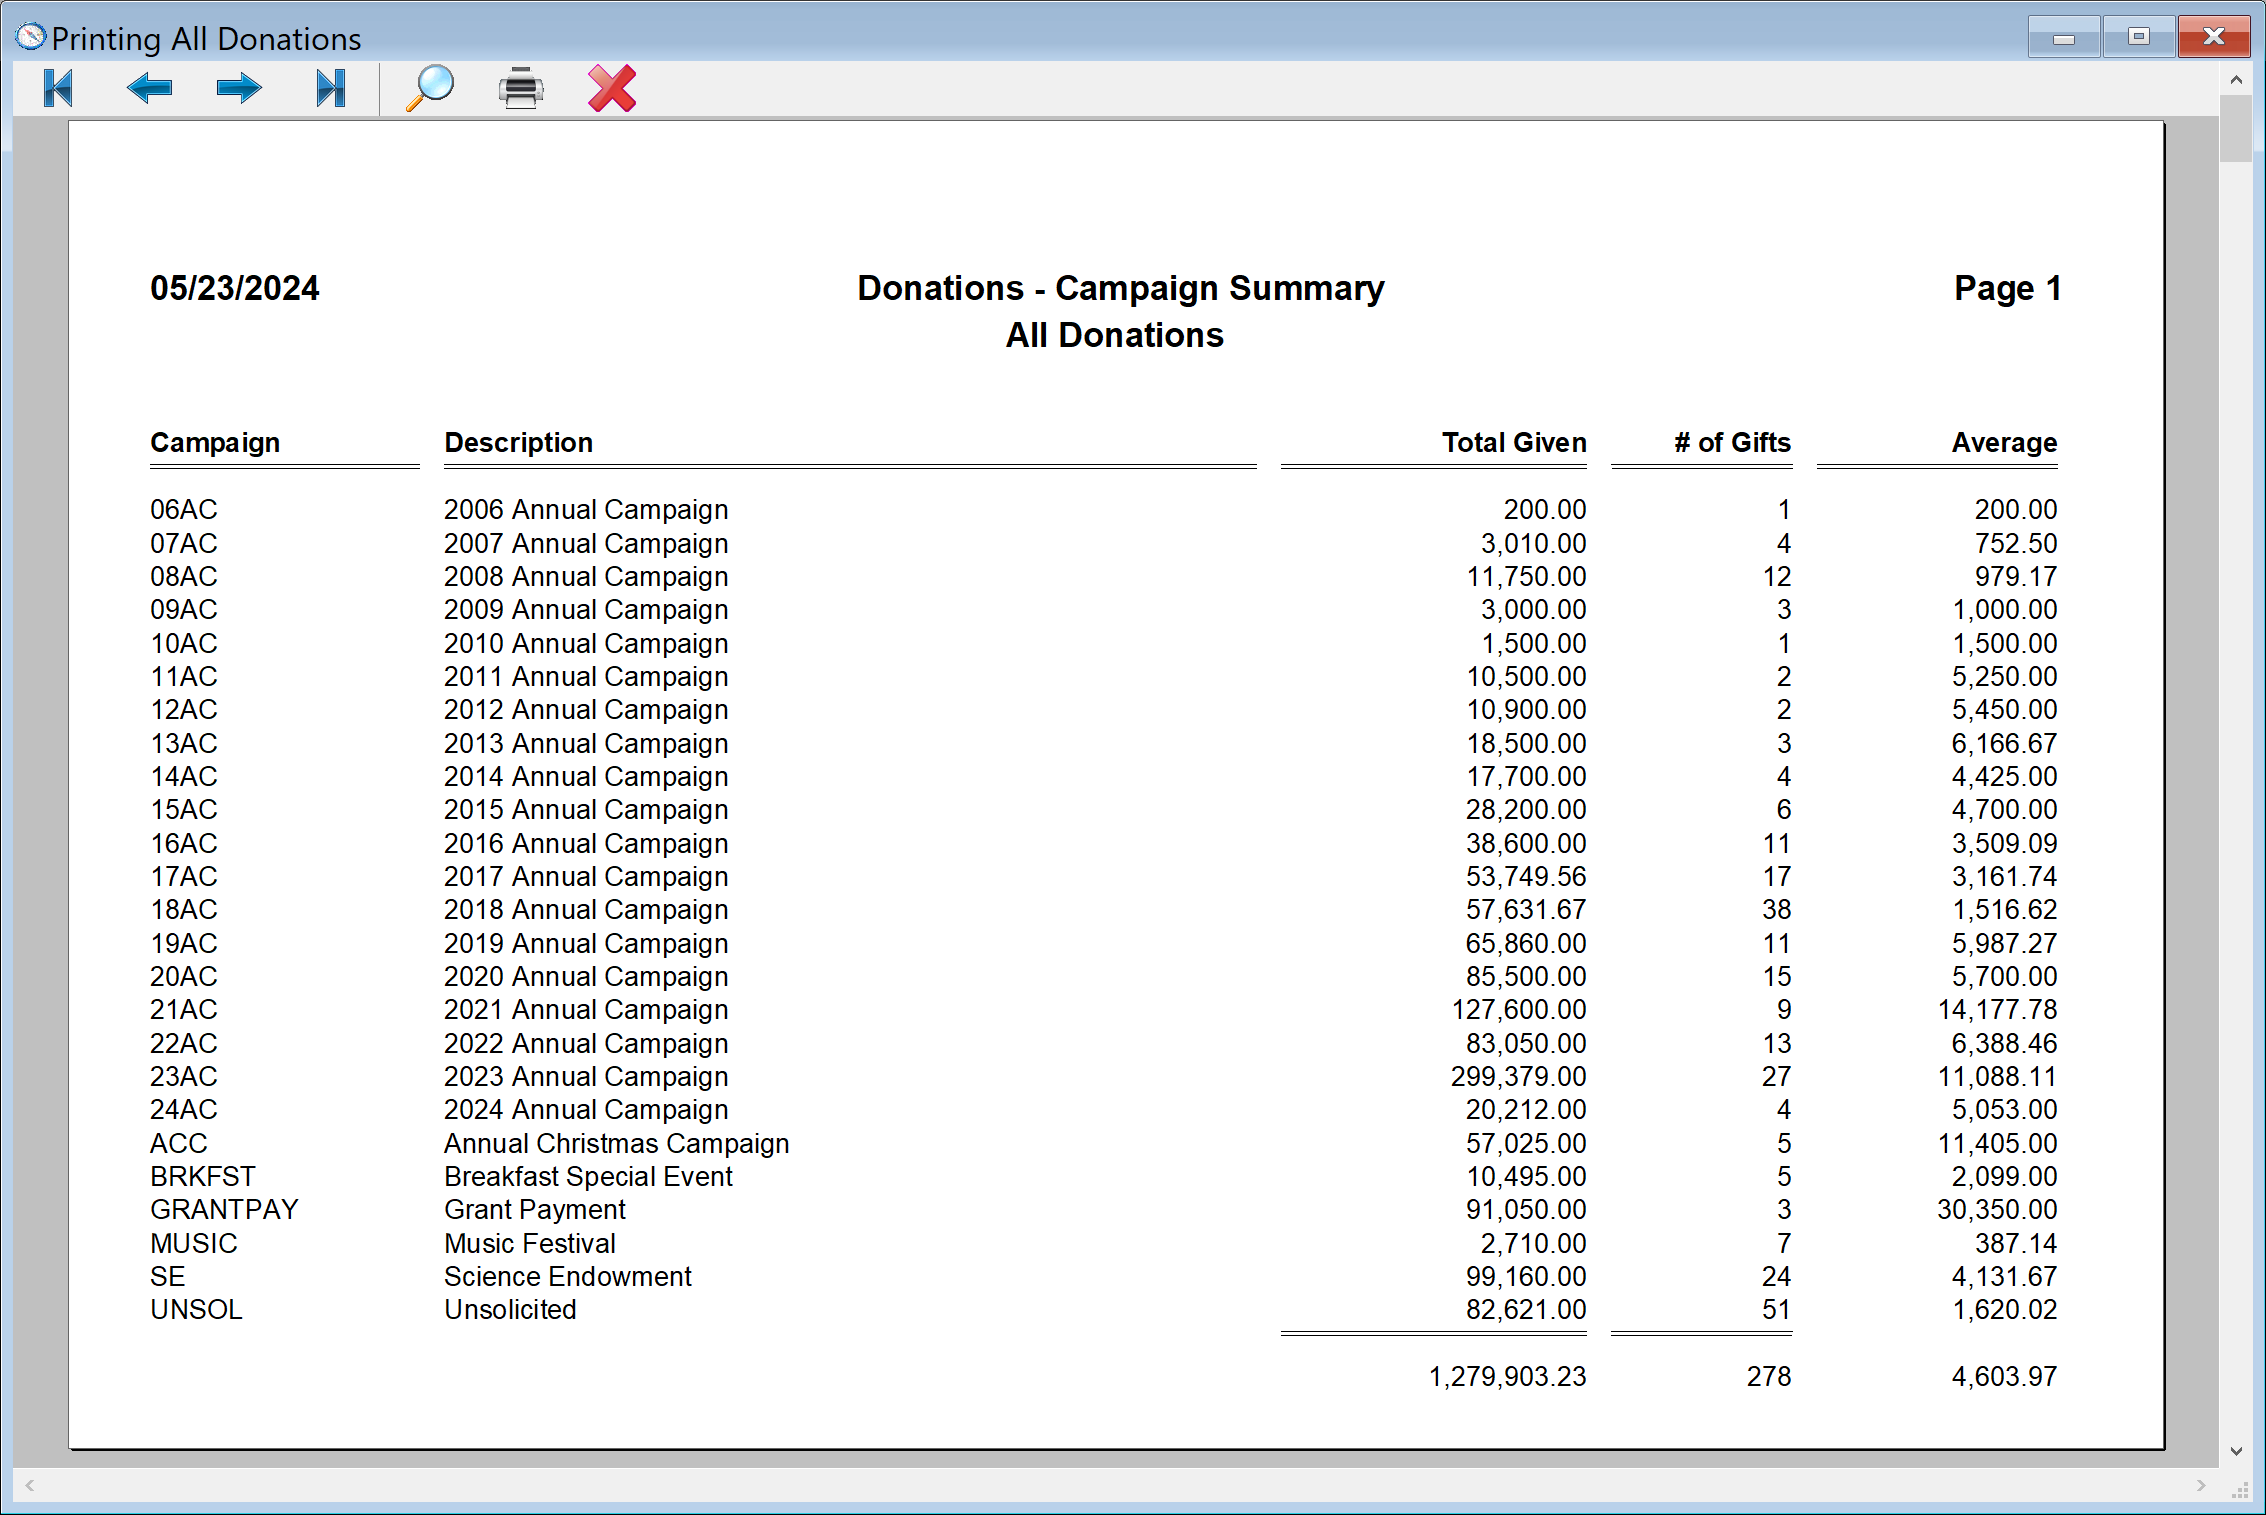
Let's take a look at a popular report titled, "Donations - Campaign Summary." Since this is a summary report, each line in the report represents many actual donation records added together. This is one of the reports which you would typically print without first doing a selection, since you would normally want it to represent all records in your database. But you could indeed use it with a selection of specific donation records if you wish (to limit by donation date range for example), just as you can with absolutely every report layout in DonorQuest.
To preview this report, first start with all windows in DonorQuest closed. Then click on the Print button on the toolbar. You will see a menu of all the report layouts in DonorQuest. Highlight the "Donations - Campaign Summary" report like this:
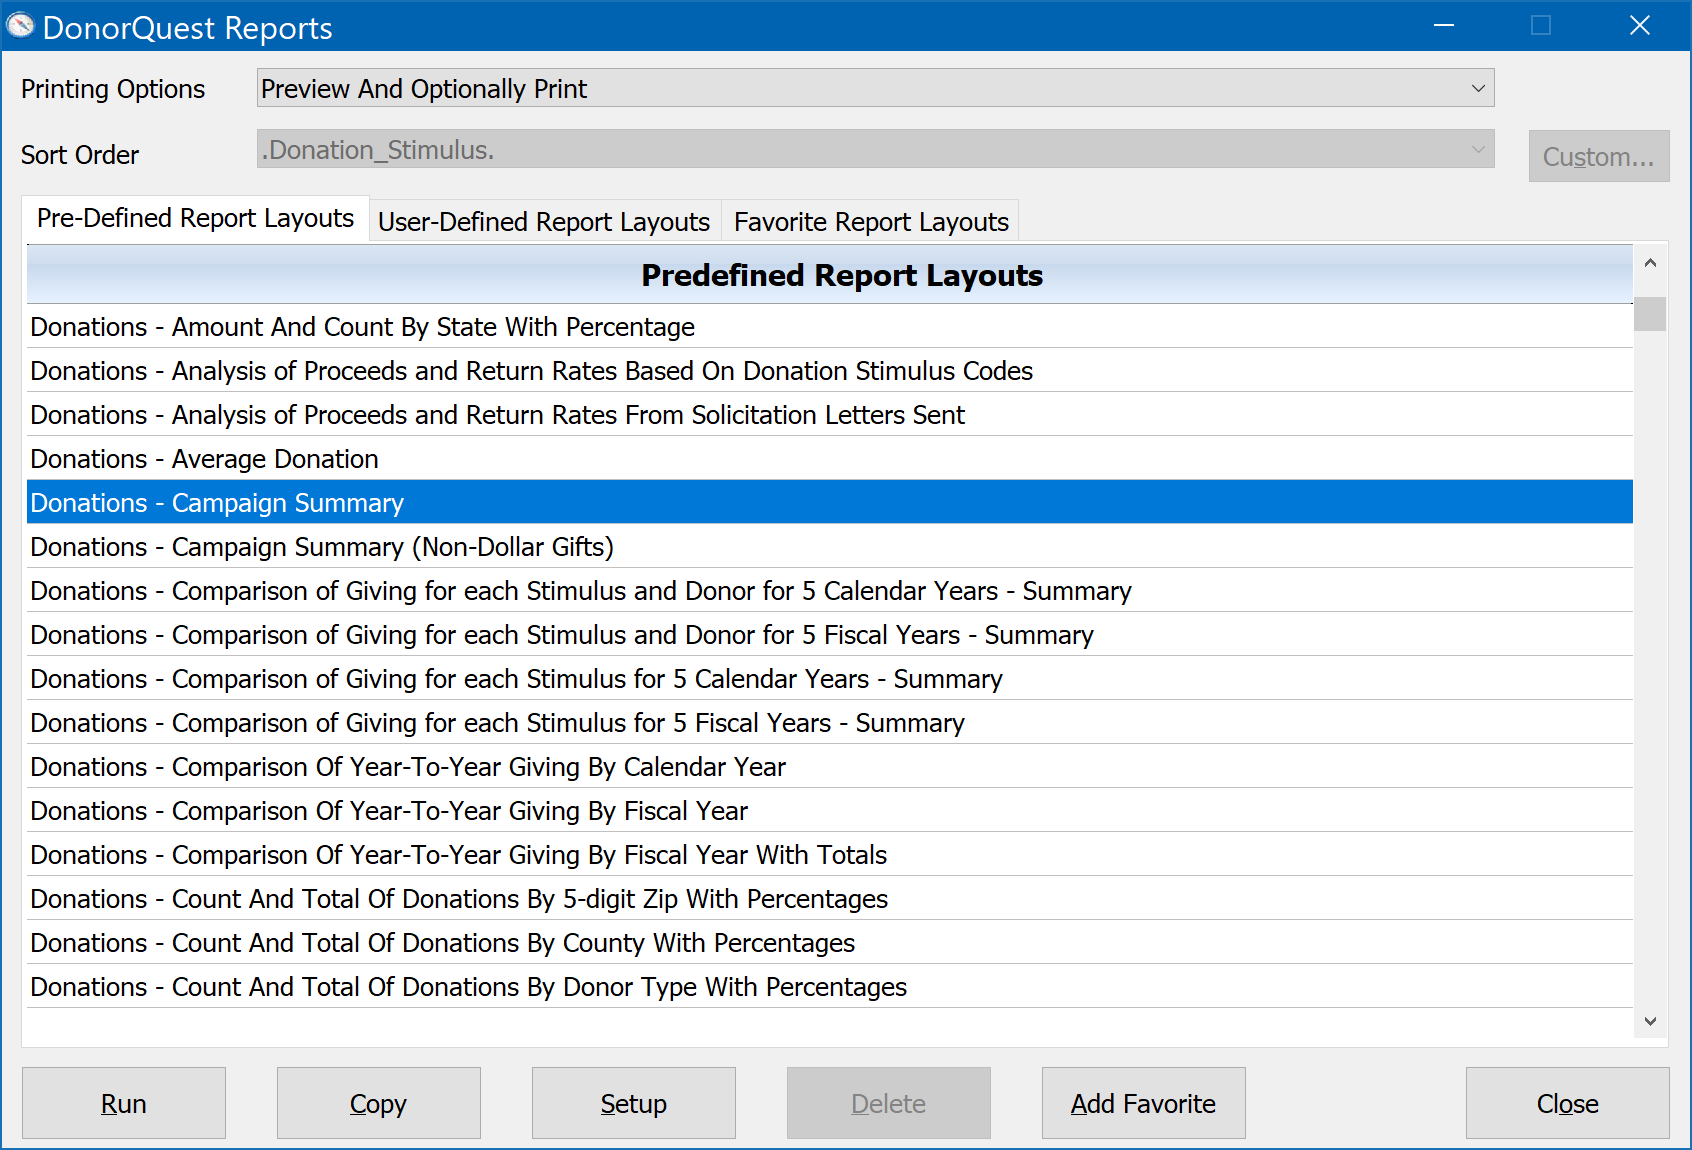
Be sure "Printing Options" is set to "Preview And Optionally Print", then click the Run button. With the sample database you should see:
Now let's try a report which does some filtering. Close the preview, then click on the Print icon again on the DonorQuest toolbar to bring back the report menu. This time choose a report titled, "Header - Top 10 Donor Report." You'll have to scroll down a ways for it. Click the Run button once you have it highlighted. You should see:
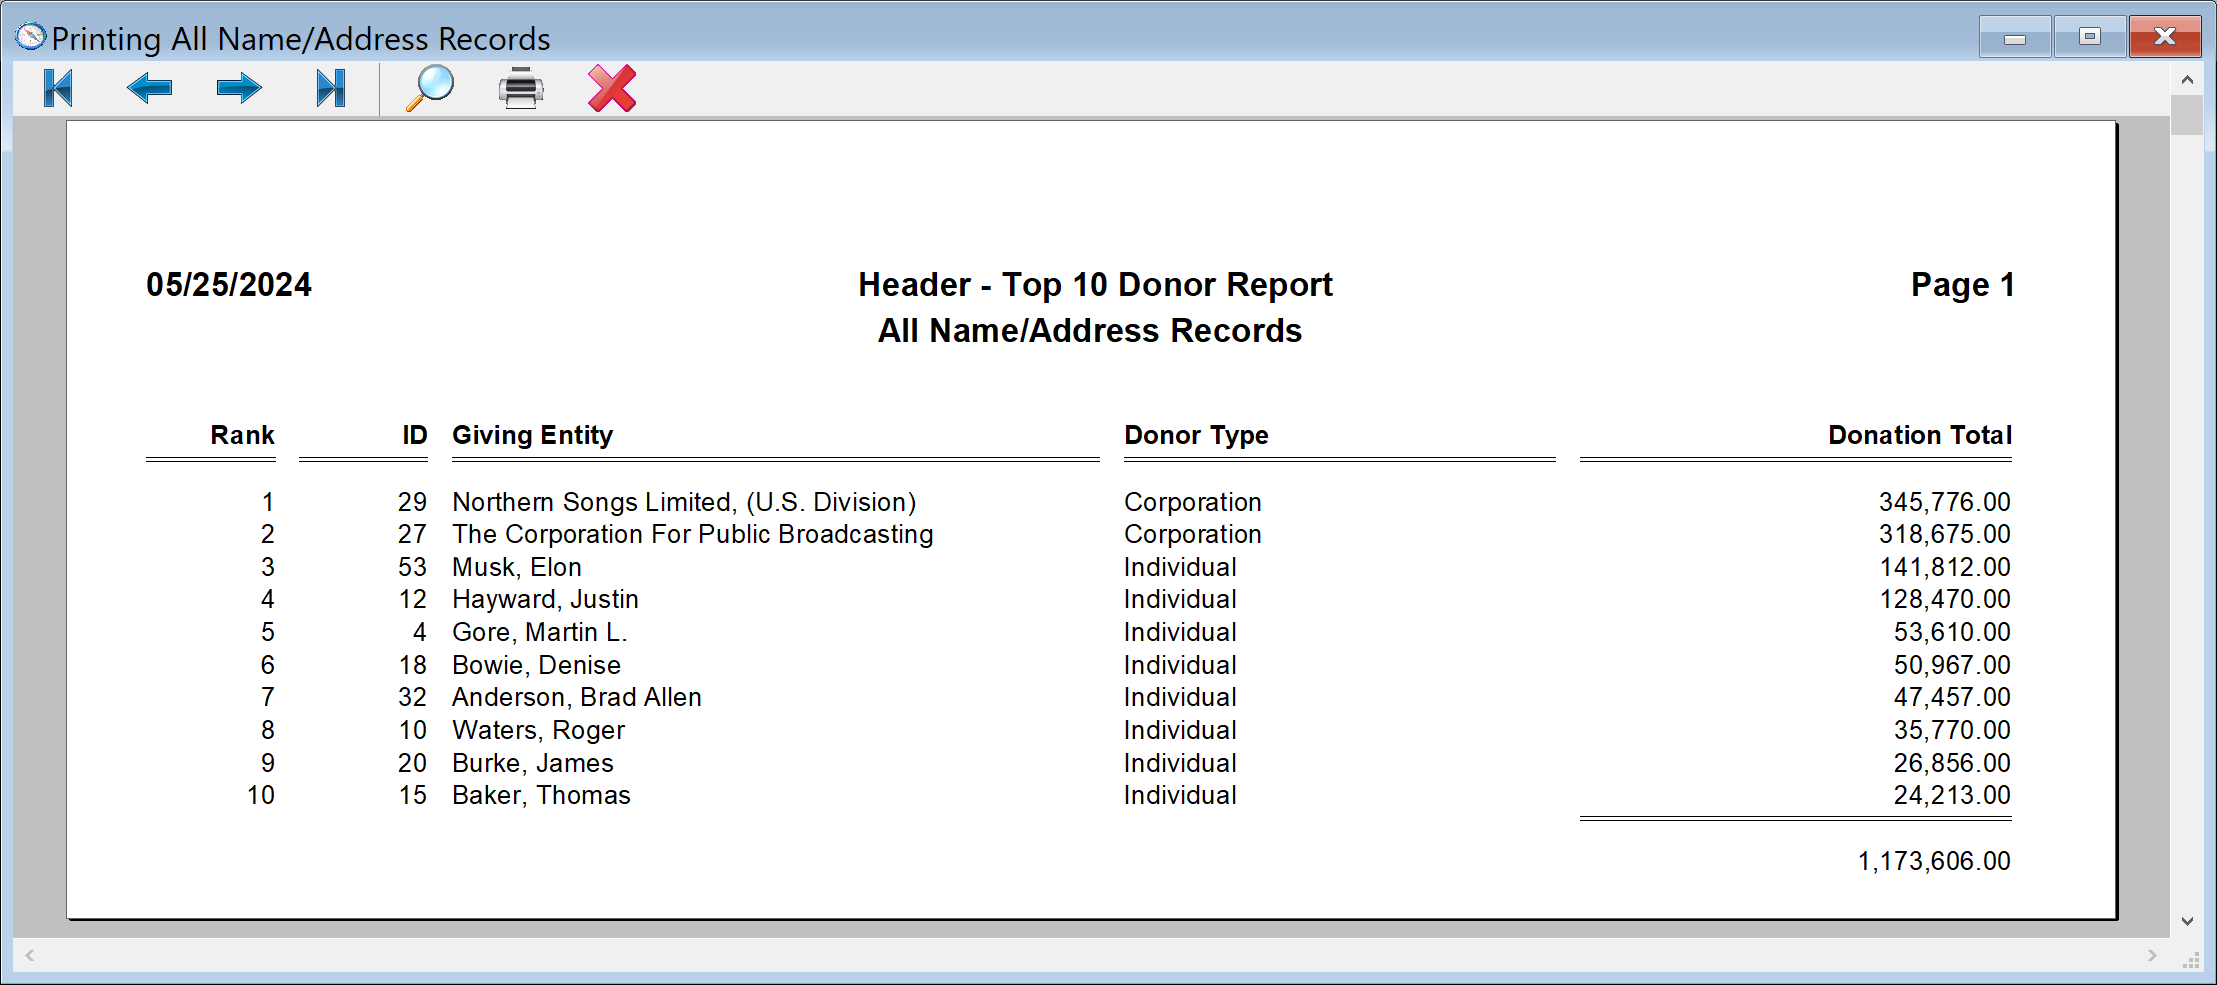
Now this report obviously did some of it's own filtering or "selecting" of records because it automatically limited itself to printing only the top ten donors in the database. But you could also have run a selection for donors living in a certain zip code range and printed this same report with that result, effectively asking it to show you the top ten givers just in that zip code range (or any other condition you can think of). One report, many uses. This ability of report layouts in DonorQuest to either "do their own thing" or to instead print just the records you want via a selection is a hallmark feature of DonorQuest. It allows a few hundred fairly generic stock report layouts to do the work that would require thousands of custom reports in some of the other donor management systems. And it doesn't stop there -- you can copy and customize any of the stock report layouts, adding and deleting columns to create a layout with just the data fields you want -- including any custom fields you may have created under the Configure, Setup User-Defined Fields feature of DonorQuest.
There is one more special thing the Print button on the DonorQuest toolbar will do -- it will allow you to print one or more records from the Main Information window. For example, if you have the Main Information window open with the sample database, and positioned on the donor Justin Hayward like this:
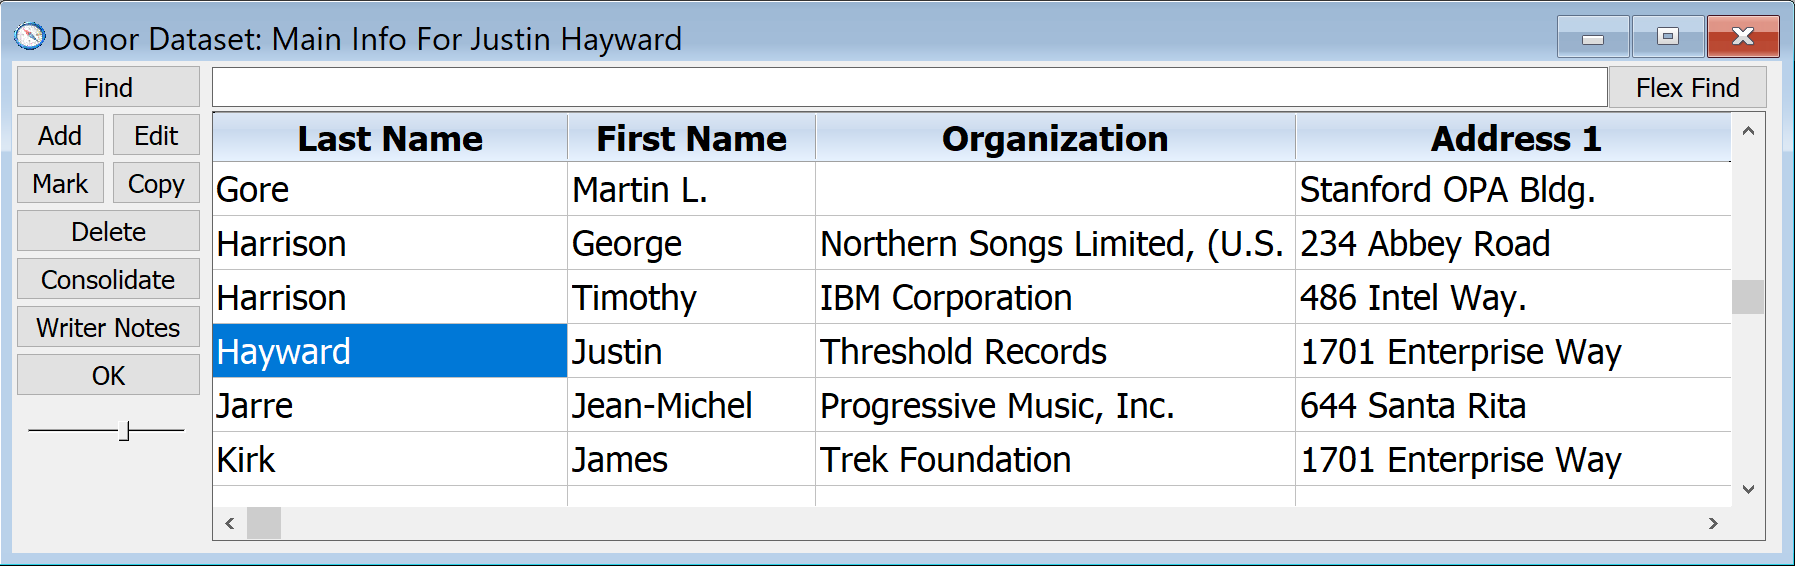
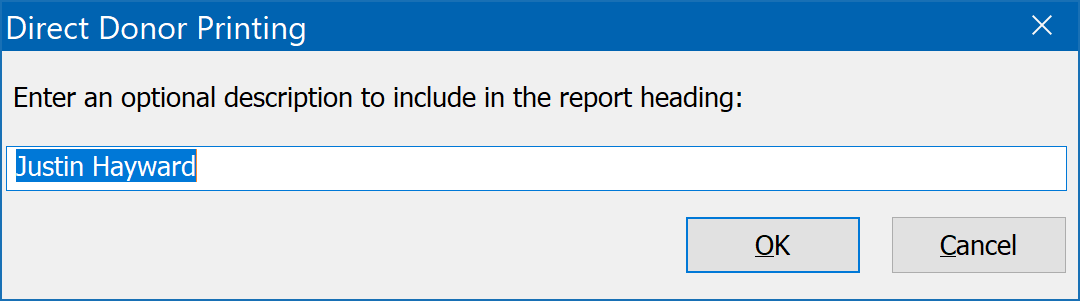
Then clicking on the toolbar Print button will allow you to print Justin's record using any of the available report layouts. Give it a try. You will first be asked to enter an optional description to include in the report heading. This can be a miscellaneous note to yourself about why you are printing his record, or it may simply be the donor's name. The prompt looks like this:
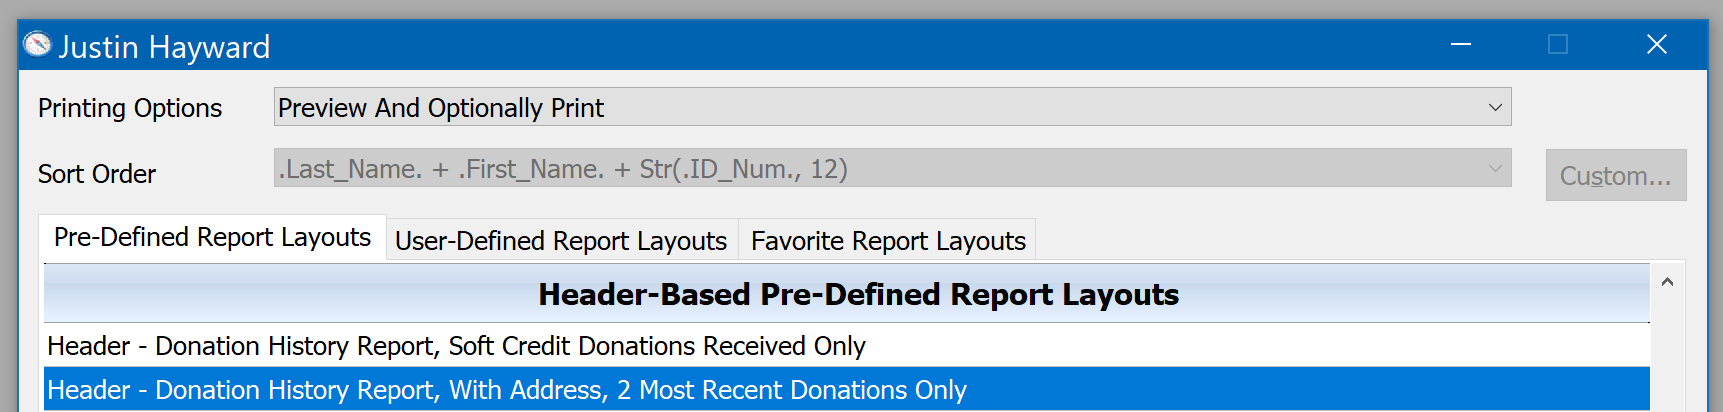
Click OK on that, then you will see the report menu. Let's print Justin's record using the, "Header - Donation History Report, With Address, 2 Most Recent Donations Only" report, like this:
From here click the Run button to see the report preview. When you close the report preview, you will be taken back to Justin's record on the Main Information View. You could actually use the Mark button on the Main Information view to mark several records for printing in this way, essentially creating a hand-picked list of donors to have together on a single report layout of your choosing.
For more in-depth information about DonorQuest reports, please refer to the Report Writer topic.