One of the most common things you will do is to print the donor information in your selection result using one of the many standard report layouts supplied DonorQuest (or a custom one you or someone else in your organization may have created). As an example, let's print the zip code selection we created in the Range Filter topic. Proceed as follows:
1.Open the Selection Results window by clicking on the Results button on the DonorQuest toolbar.
2.Highlight the example we created, "Constituents With a Zip Code From 94000 Through 95999"
3.Click the Print Report button. You will then see the DonorQuest report menu open like this:
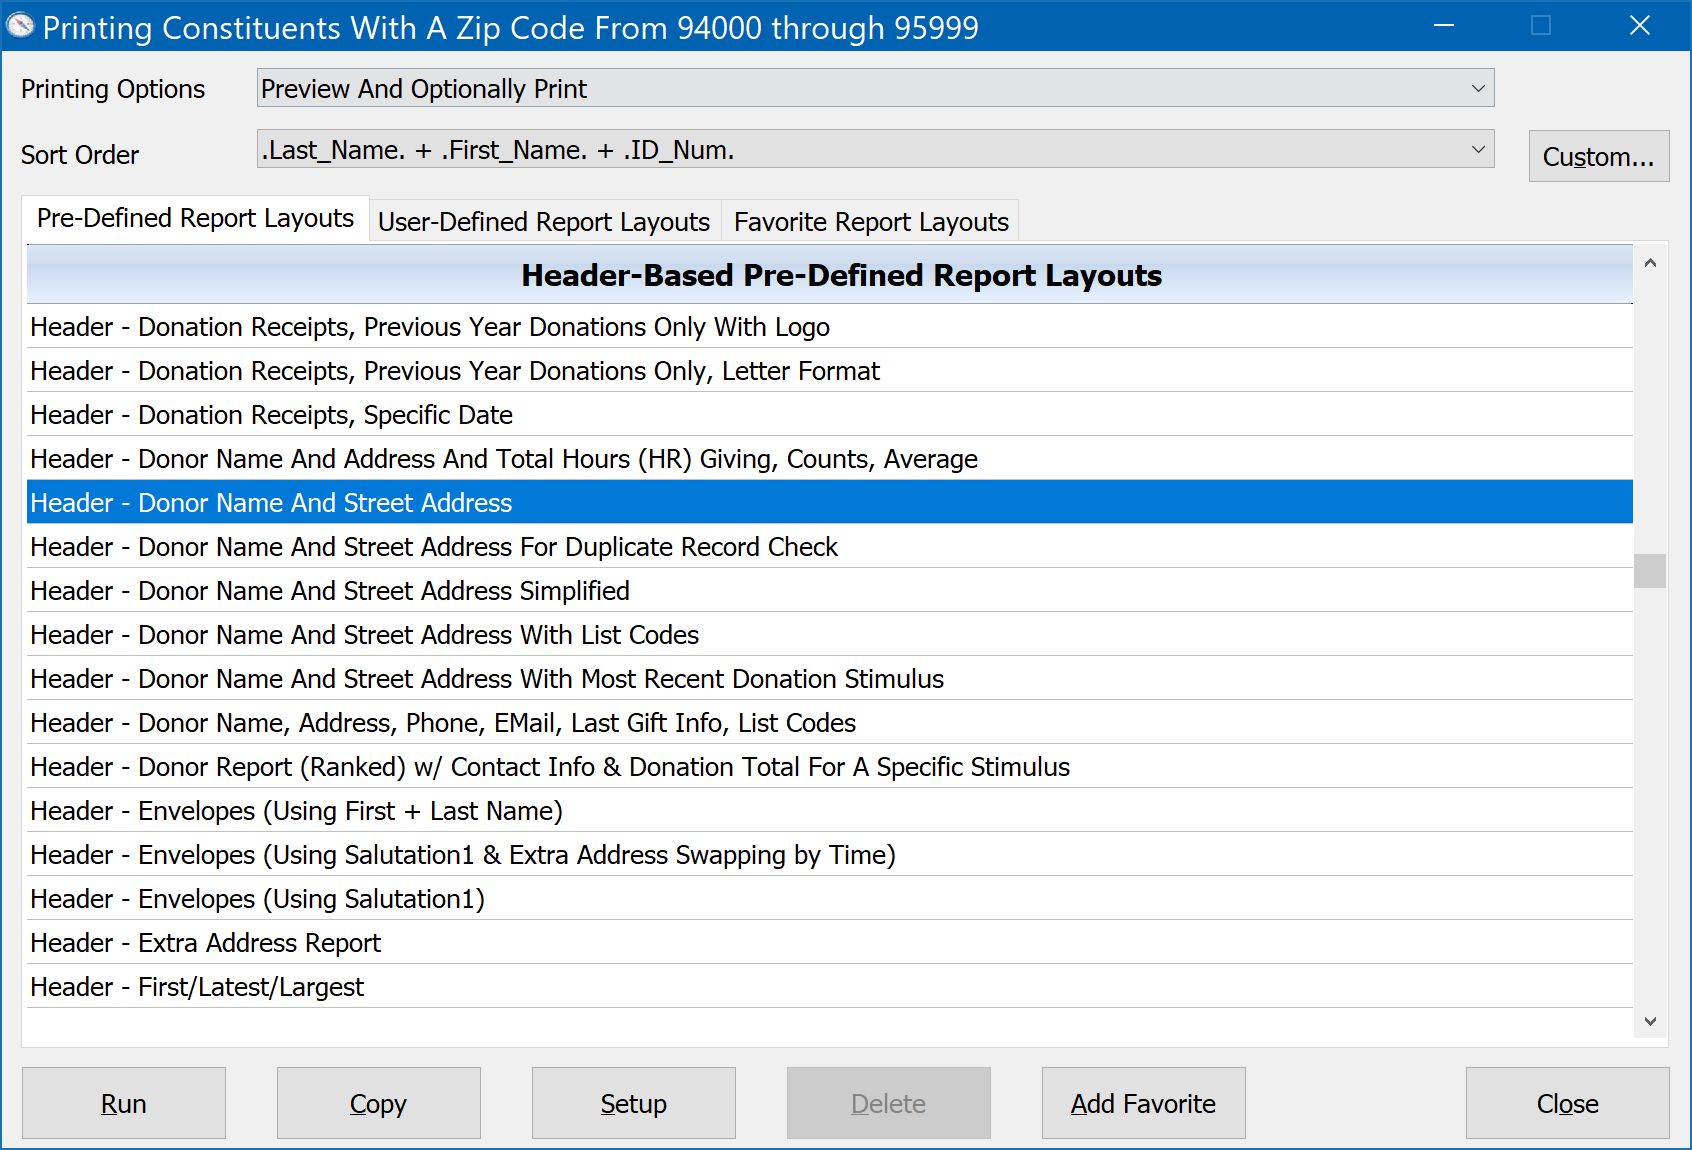
Notice how the title for the report window includes the description of the selection we are printing. It is at this point that we are making a connection between the existing selection, and a report layout. Selections filter data, reports show data.
4.Scroll down the list of report layouts and highlight, "Header - Donor Name And Street Address."
5.Be sure the Printing Options control is set to Preview And Optionally Print (as shown above) and click the Run button. You should see a report preview like this:
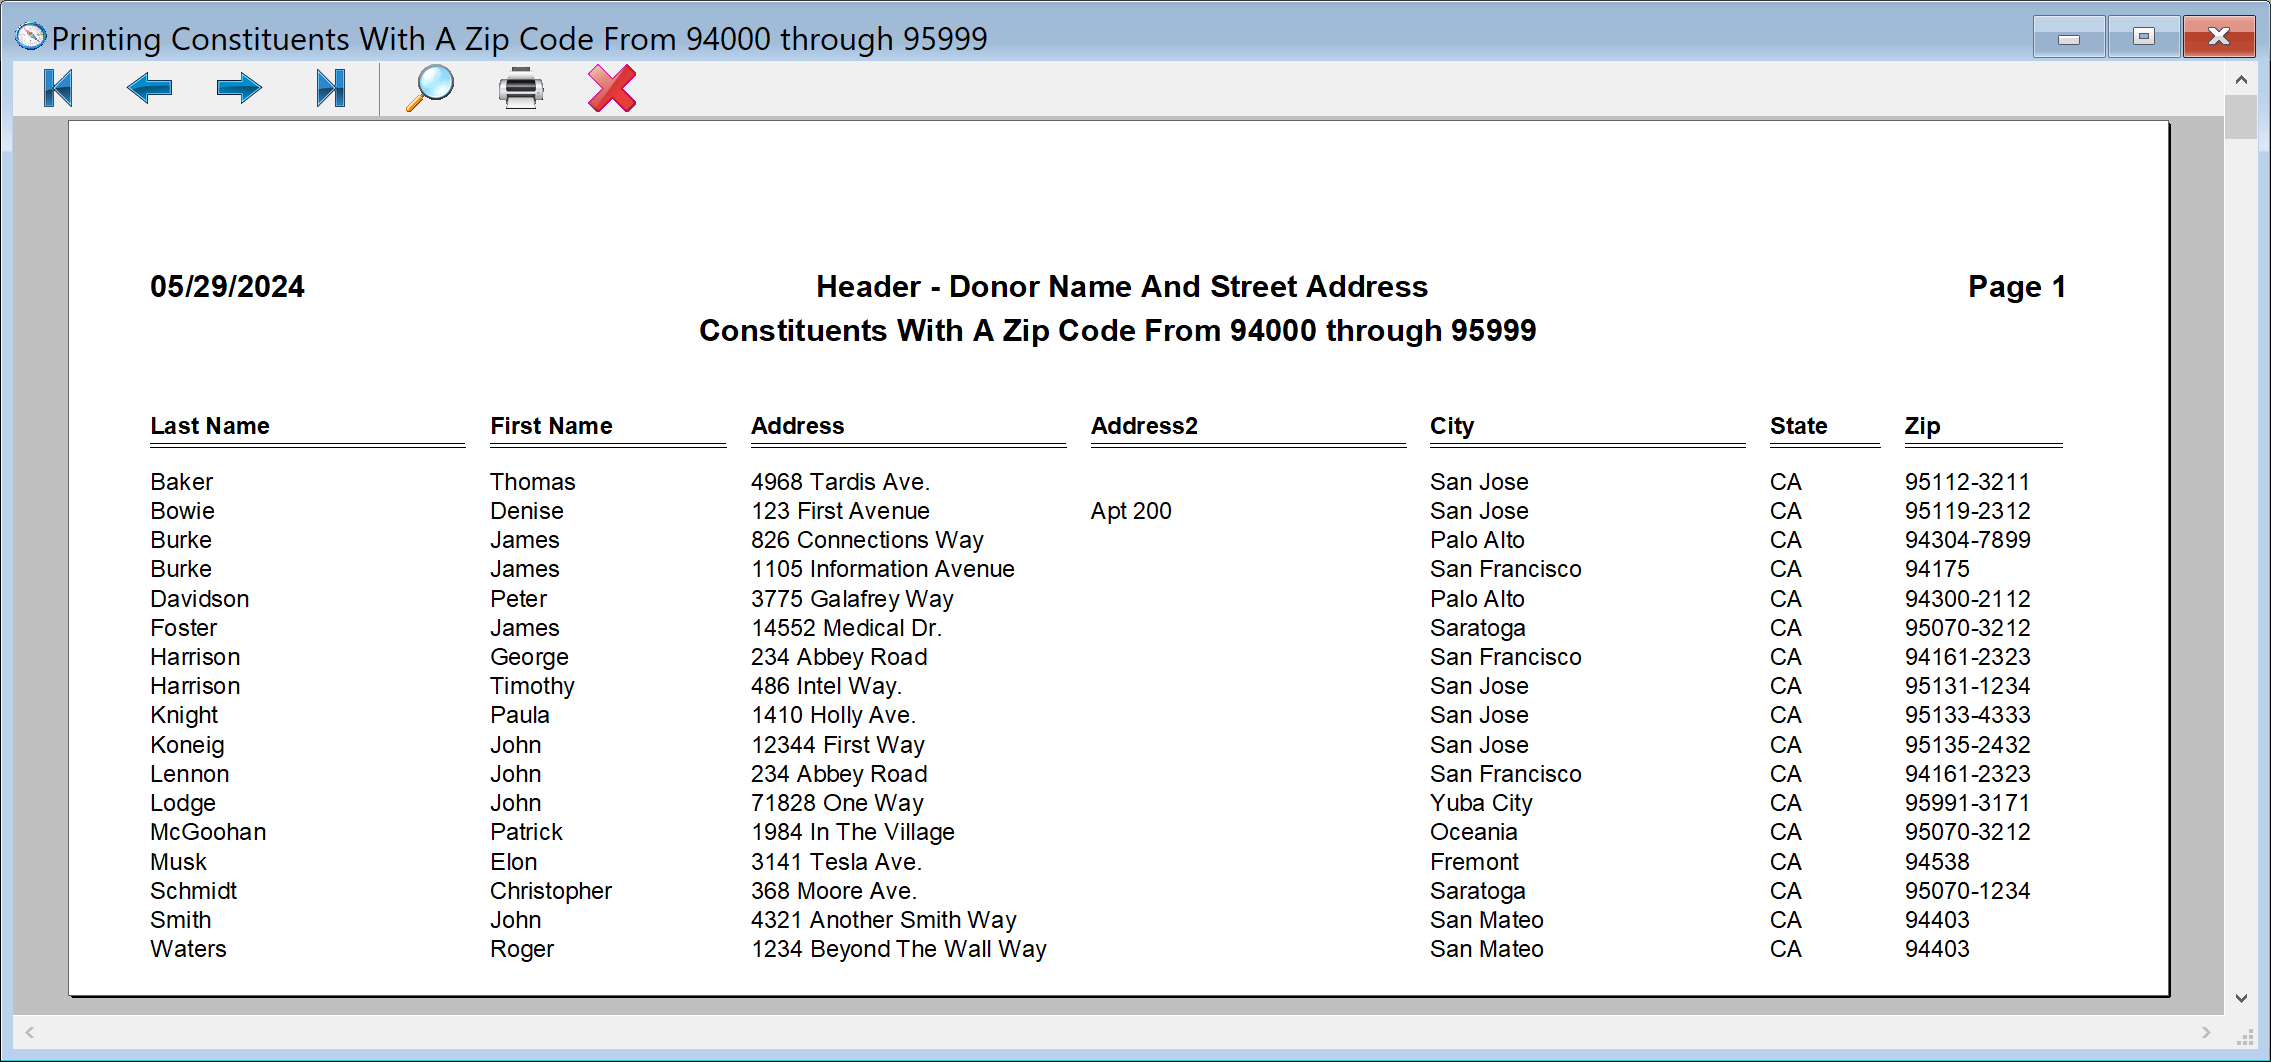
Notice that the report is ordered by Last Name. We could have ordered it differently by one of the other predefined orders in the Report window by clicking on the drop-down list next to Sort Order, or we may have ordered it by a custom order using any combination of fields by clicking on the Custom button to the right of the Sort Order options.
When the preview is displayed, you may click on the printer icon  to print the current page, a range of pages, or all pages. If the report only has one page (as is the case in our example), clicking the printer icon will immediately print the single page.