Linkages are used to establish relationships or connections between donors. Through the use of Linkages you may assign the donor to multiple solicitors within your organization (each for a different purpose), report on all those who attended a related institution or event, denote familial relationships, employer-employee relationships, and so on. Each donor may have an unlimited number of Linkages (relationships) with other donors.
Clicking on the Links button on the DonorQuest toolbar for the sample donor Justin Hayward will bring up the Linkages datasheet window as follows:
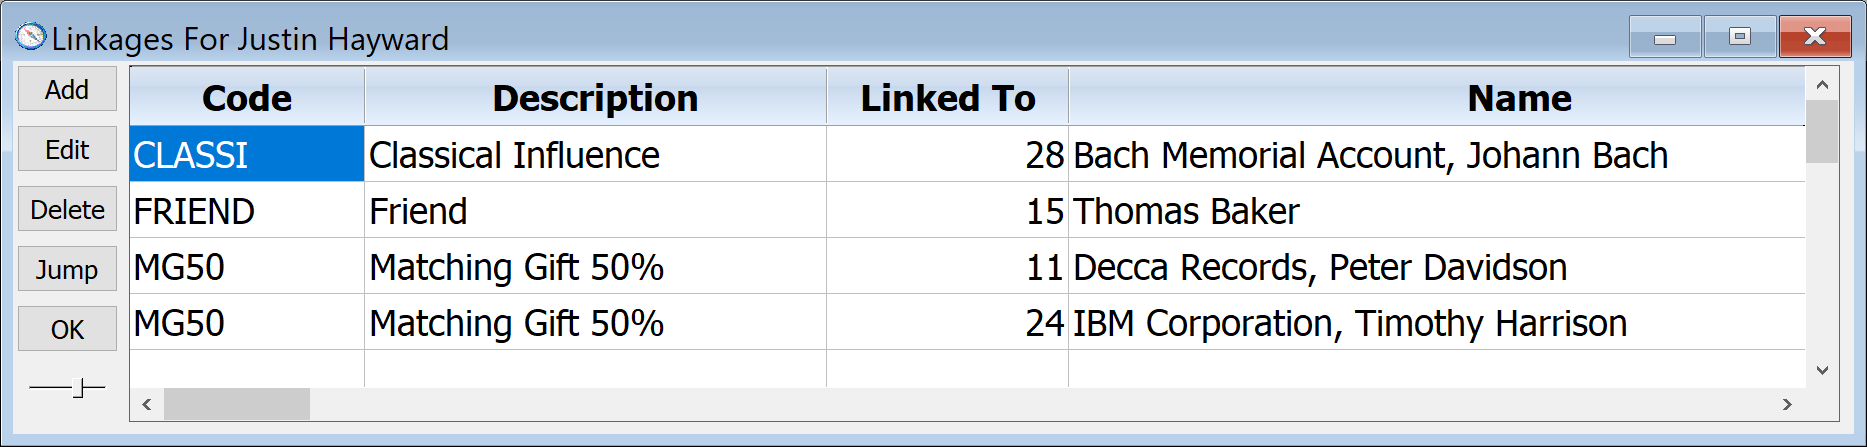
As with Donations, Pledges, and the like, clicking on the Add button on the datasheet window will allow you to add a new linkage. Let's do one for practice. Look up the sample donor Justin Hayward and open his Linkages datasheet, then click Add. You will see the following form:
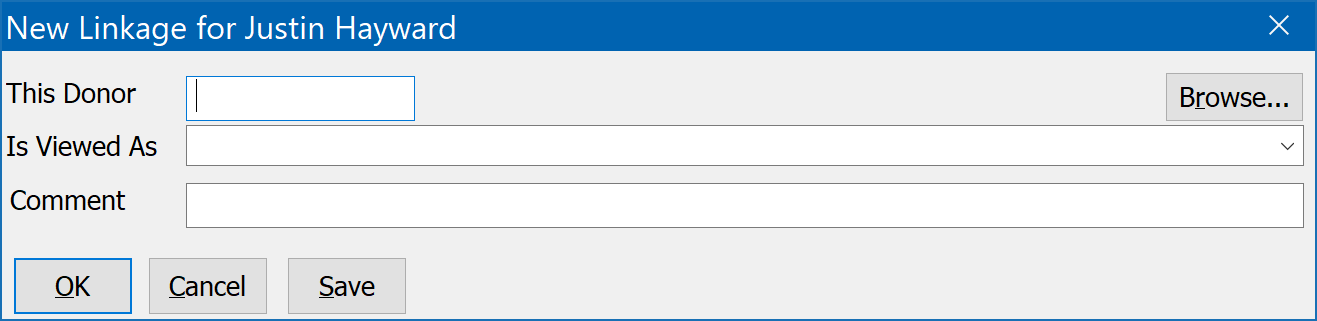
A linkage basically consists of two things -- the ID of the donor you are linking to, and how they are viewed by the donor you are adding the linkage for. For our example, let's add another friend for Justin Hayward. If you happen to know the ID number of the friend you could enter it, but chances are you don't. So you will click on the Browse button of the New Linkage form. You will then see a browse window which looks like this:
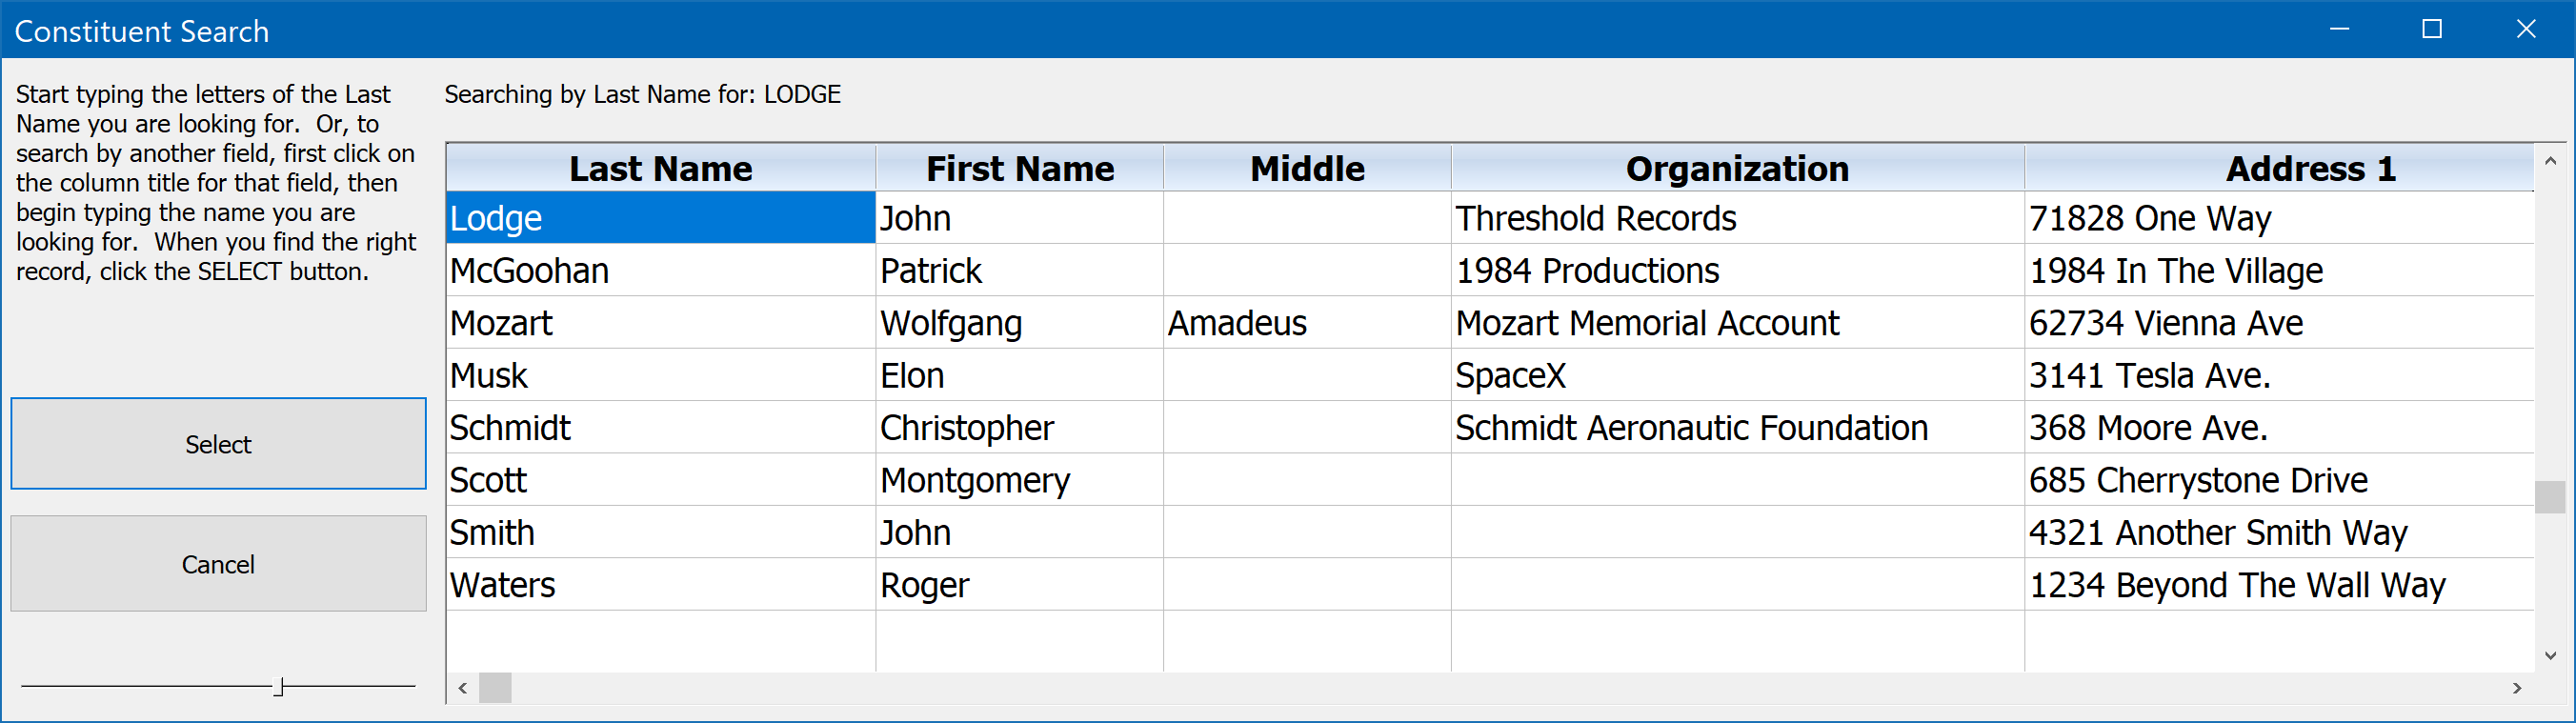
This is a special search window which is all set to help you find the ID of Justin's friend. You can simply begin by typing the letter's of the friend's last name. Let's say the friend we are searching for is John Lodge. Just begin typing the letters of Lodge. You will see the display update as DonorQuest narrows down the list to the name you are looking for (note that if we had needed to search by any of the other columns we could have by first clicking on the title of the column we want to search to order the data by that column and give it search focus). Once the record for John Lodge is highlighted, click the Select button of the Browse Find window. You will see that the ID number for John Lodge is automatically entered for you in the New Linkage form. Press the Tab key to move on to the, "Is Viewed As" blank and click the drop-down list. From there you can select the code FRIEND. Complete the entry by clicking Ok on the New Linkage window. You should see:
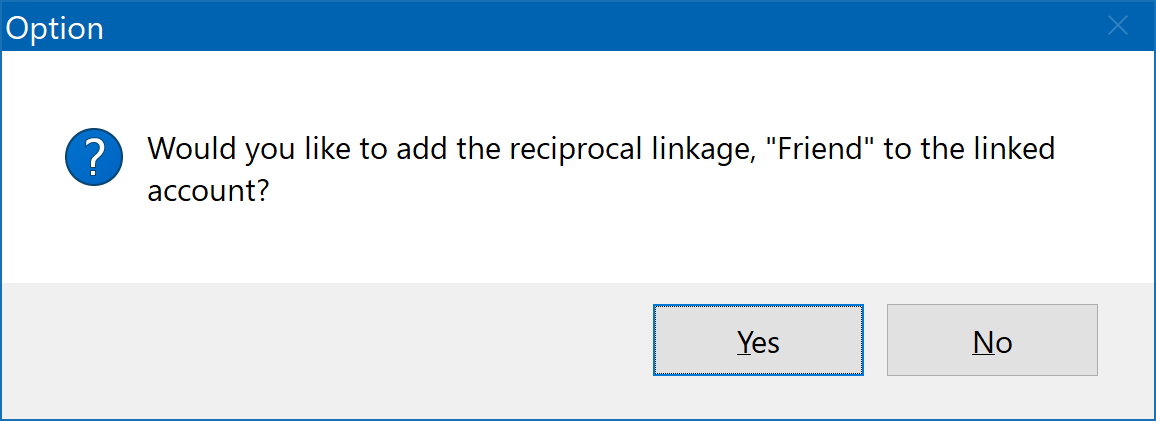
Click yes. What this means is that DonorQuest knows that if John is a friend of Justin's, it stands to reason that Justin is also a friend of John's, so DonorQuest is asking to automatically add a linkage in John's account back to Justin. DonorQuest knows which types of relationships are reciprocal in nature because you are able to tell it which relationship codes do in fact have reciprocals. Sometimes, as in this case, the reciprocal code would be the same - FRIEND. Now in the case of adding an employee to the donor record of a company, there would still be a reciprocal relationship, but the code would be different -- one would be EMPLOYEE, and the other EMPLOYER. You can setup these reciprocal relationships in DonorQuest in advance, so it knows how to behave when adding certain types of linkages (see Editing a specific code table for more information on this).
So back to our example. You should see that the Linkages datasheet display for Justin now includes a link to his friend John Lodge of Threshold Records, as shown here:
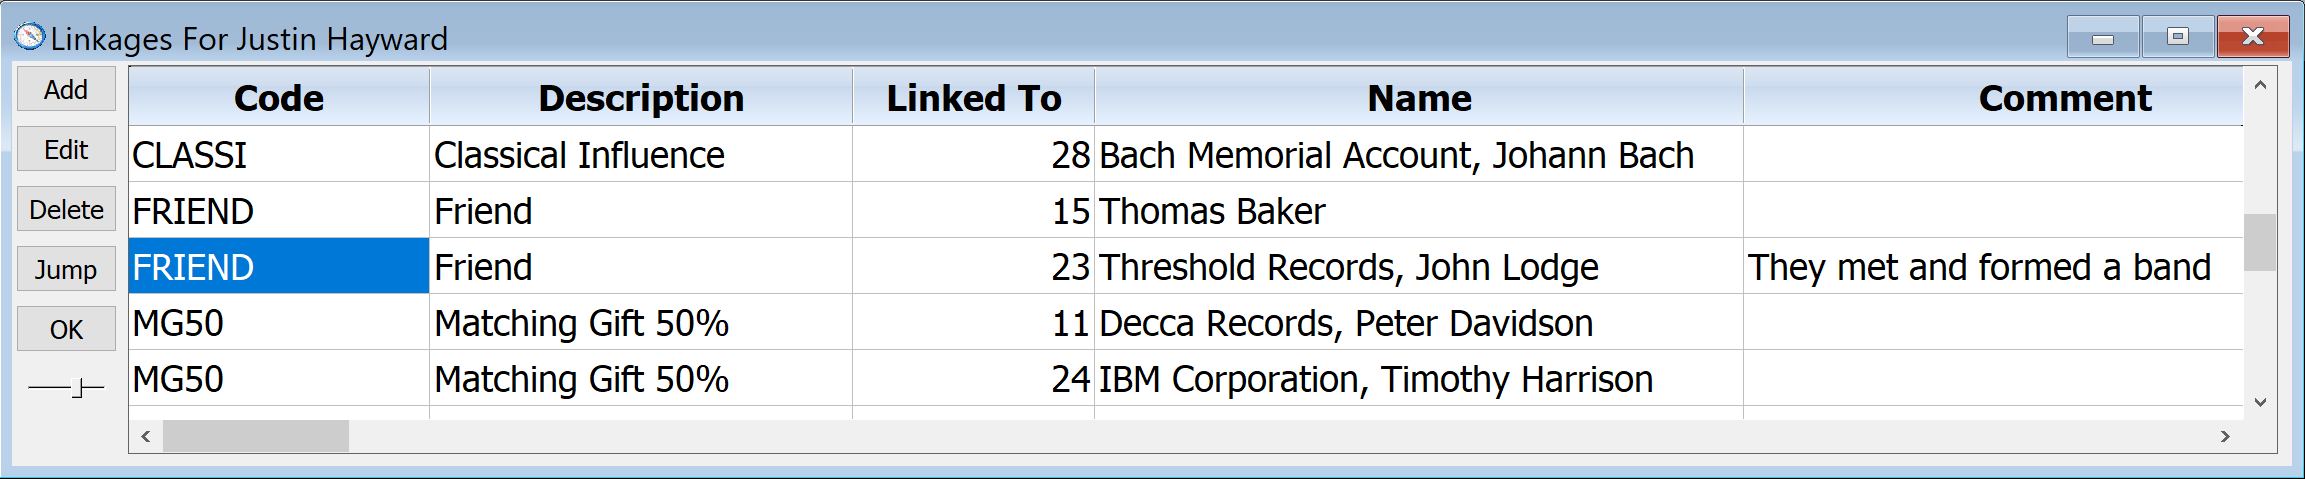
This is a good opportunity to explore the Jump button. Quite simply, the Jump button will take you to the linked donor account. Give it a try. With the John Lodge friend linkage highlighted in Justin Hayward's Linkages datasheet, click the Jump button. You will see that you are immediately taken to the donor account for John Lodge, and there you should see the reciprocal linkage back to Justin's account, like this:
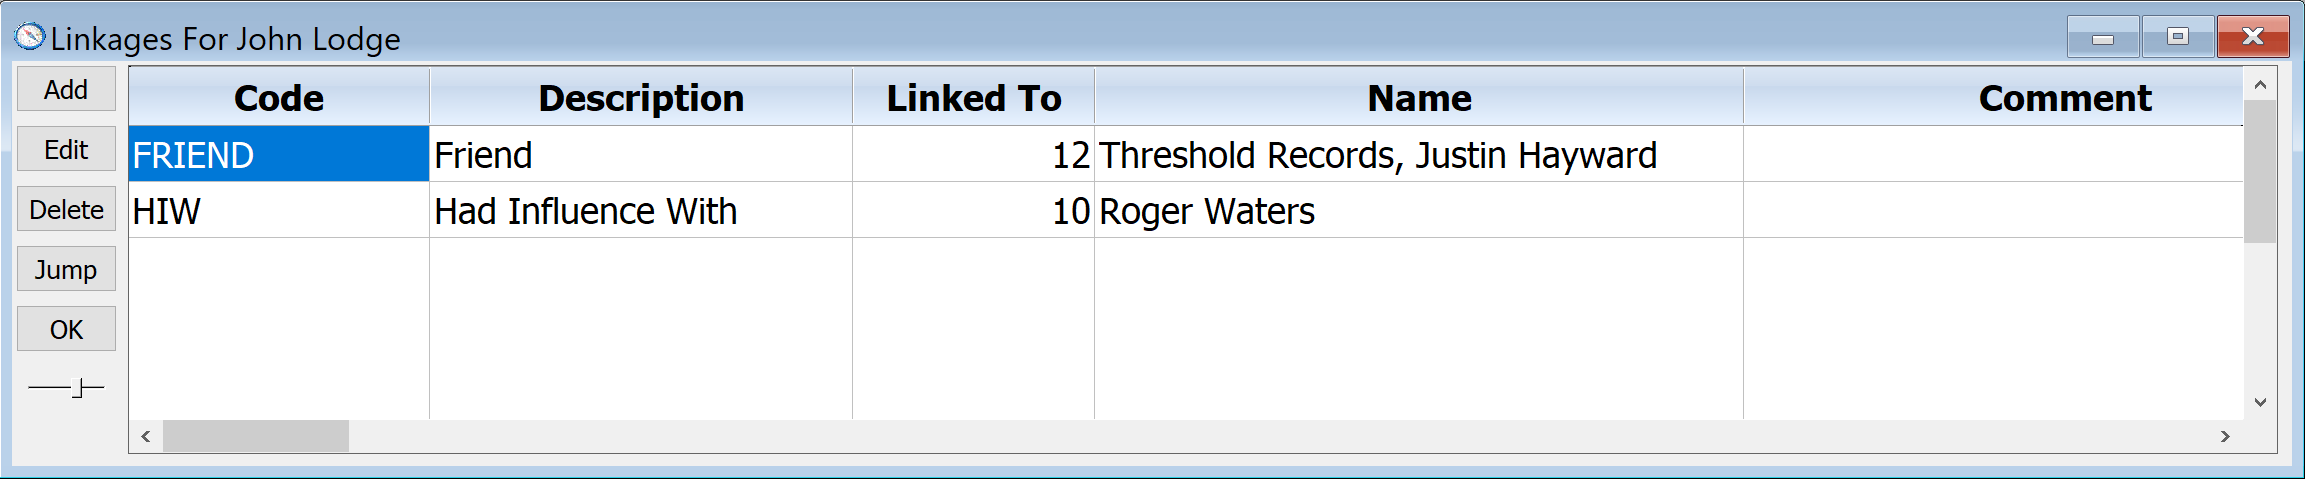
Now click the Jump button again -- you're back on Justin's account!
Matching Gifts
Donor Linkages are also used to establish matching gift relationships for your donors. In order to designate a matching gift account for the current donor, start by adding a new Linkage, then use the Browse button to select the company record that will match the donor’s gift. Then type into the Is Viewed As, MG which stands for matching gift, followed by a number from 1..100 that specifies the matching percentage. Now, every time the donor gives, a matching pledge will be created in the account of the matching gift donor.
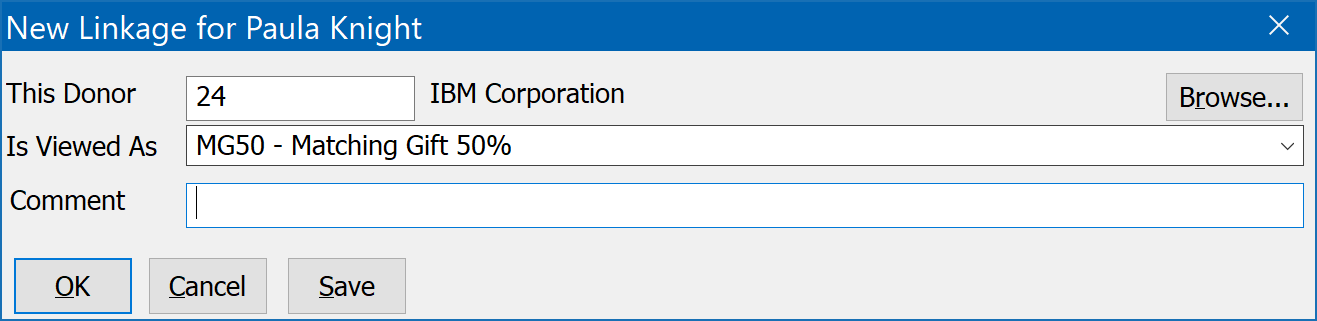
For example, if IBM Corporation agrees to match any gift given by donor Paula Knight at a rate of 50%, you would add a Linkage to Paula's account of MG50, with the linked donor being the Donor ID number for IBM Corp. Here are the steps using the sample database:
1)Look up Paula Knight's account and open the Linkages datasheet.
2)Click the Add button on the Linkages datasheet, then click the Browse button to find IBM's record
3)Since you want to search the Browse window by Organization, click on the title of the organization column to order the data that way.
4)Begin typing IBM. Very quickly you should land on IBM's record, and it should look like this:
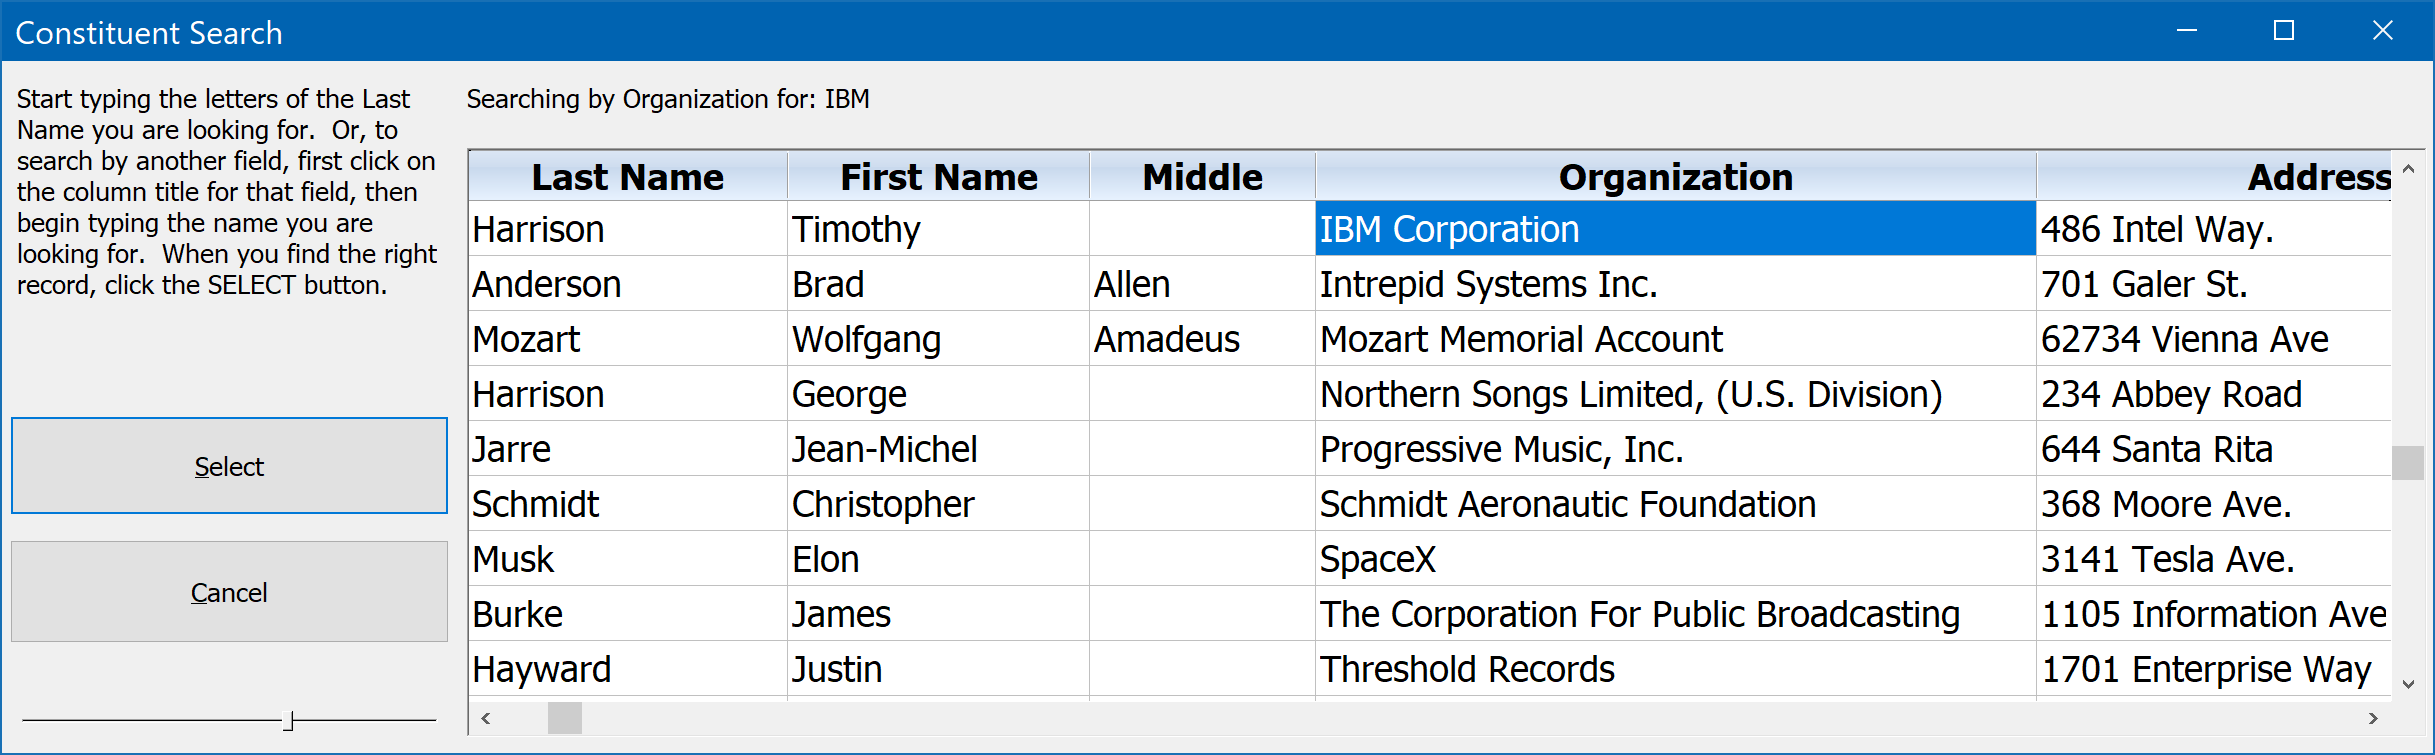
5) Click Select. Now for the Is Viewed As type MG50 and press tab. It should look like this:
6) Click Ok to save the new Matching Gift Linkage.
Now whenever a donation is entered for Paula, you will be asked if it is okay to create a matching gift pledge in IBM's account for 50% of the gift. If you say yes, and you run the automatic pledge invoices in DonorQuest, IBM will automatically get a pledge payment reminder in the mail explaining what they owe and why (details of Paula's donation will show on the payment reminder). Give it a try!
Note: Be sure you have the option for Prompt For Pledge Linkage turned on under User, Change Your Personal Settings.
There are additional details about the linkage fields in the Linkages Table topic.