There are many reasons you may want to export donor data out of DonorQuest such as for preparation of a mail merge letter, sending to a mailing house, or to have Zip+4 processing and address cleanup done on your data. With DonorQuest, you can export to a standard comma-separated value (CSV) or tab-delimited text (TXT) file. You may also export data directly to Excel. Before you can perform an export you need to run a DonorQuest Selection to gather together the specific information you want to export. Once you have a Selection Result to export, click on the Export button of the Selection Results window. We will use the sample zip code range selection we created in the topic on the Range Selection Filter. When you click the Export button, you will see the DonorQuest Export window open. You will see the name of the selection we are using appear in the title of the export window, so we know we are exporting the desired selection. Go ahead and set the following options:
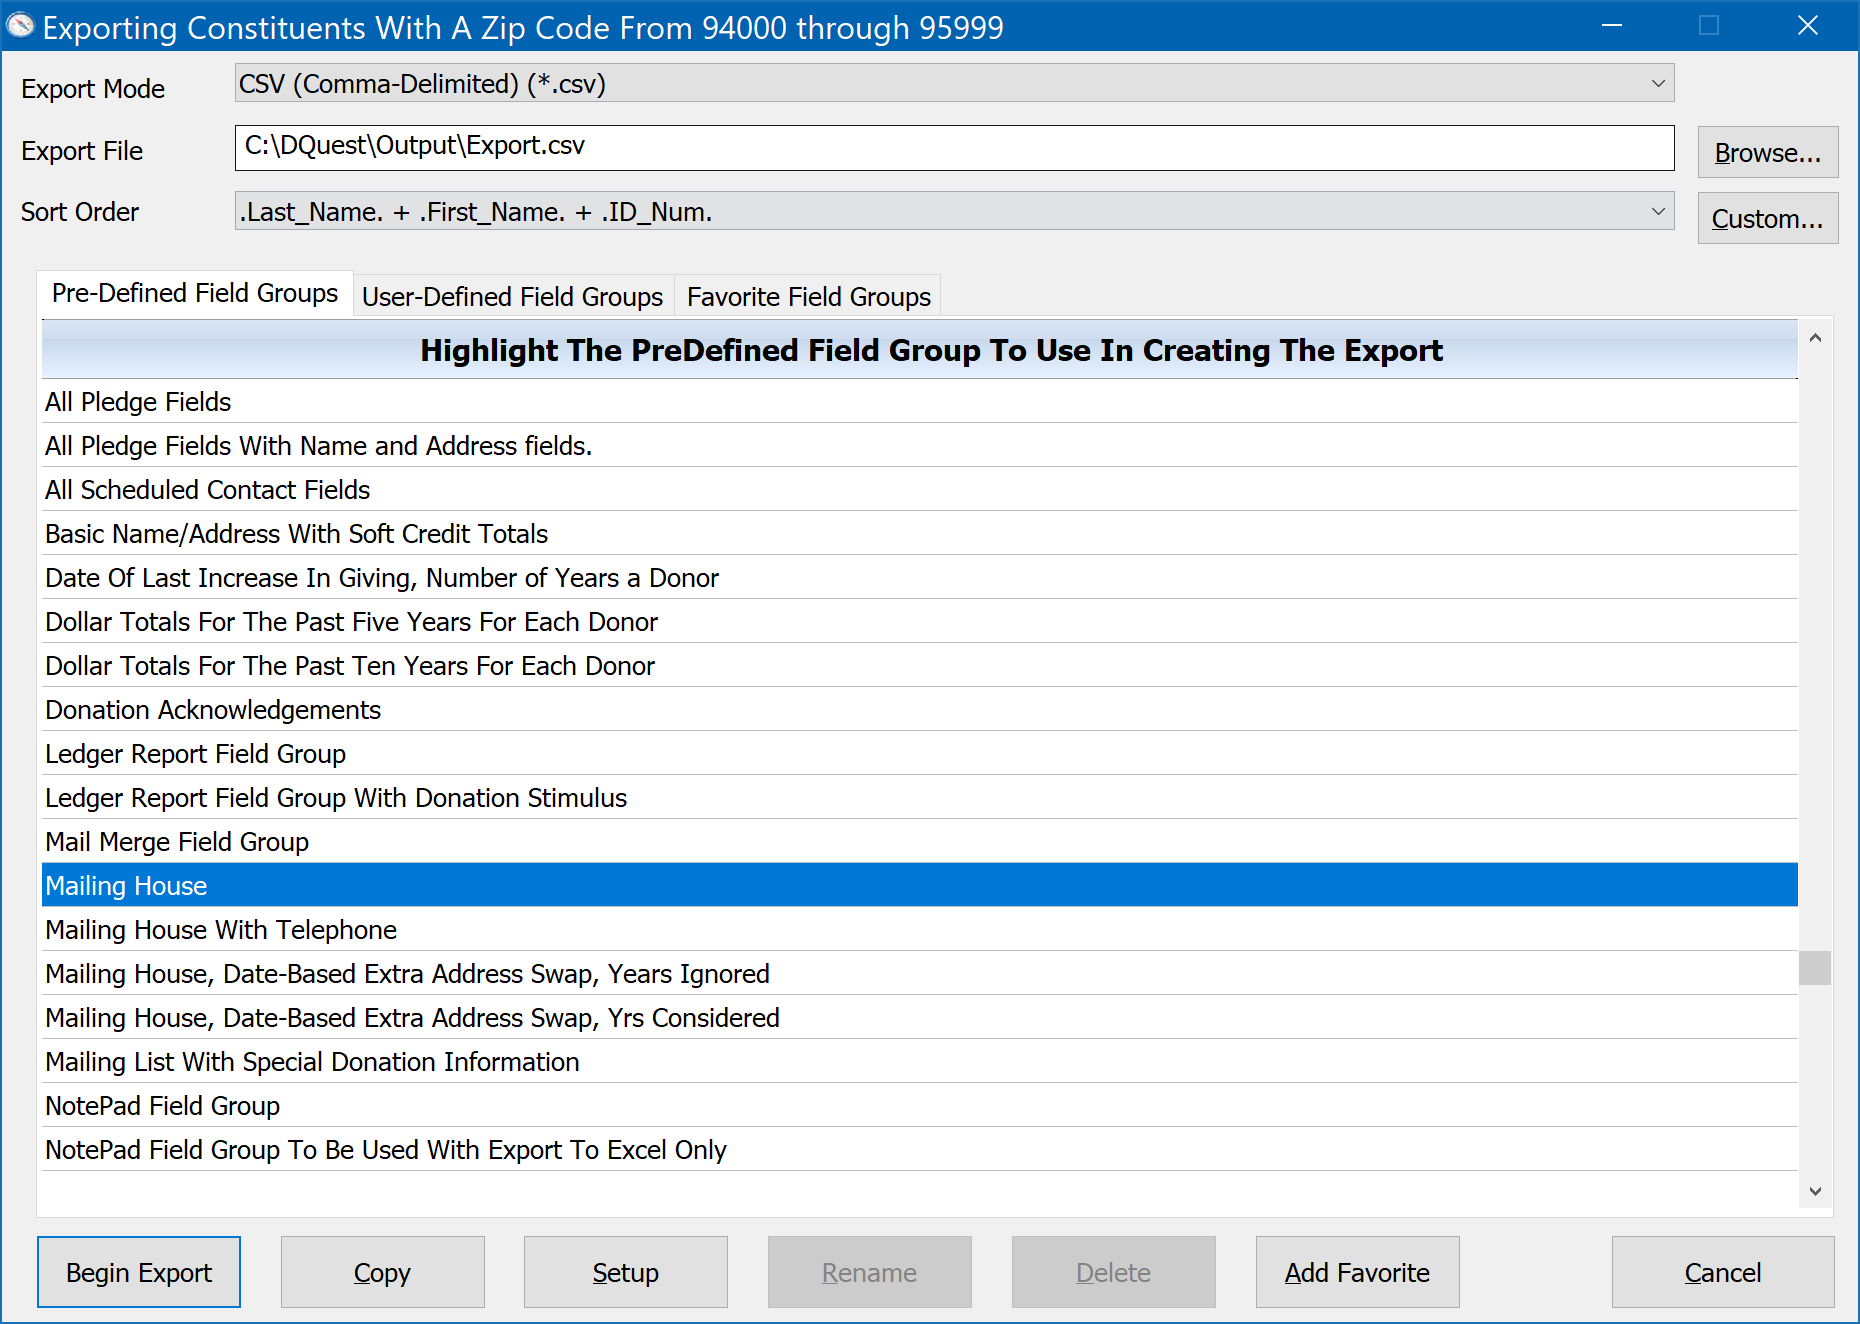
Here we are saying that we want to write the data out to a file in the DonorQuest output folder named Example.csv. If you wish to create the export file in a different folder, click on the Browse button to the right of the Export File and choose the destination folder you prefer. The export mode is set to CSV, so the file will be in the standard comma-separated value format which is compatible with most software including Excel. Lastly, we are highlighting the Mailing House field group. The selection determines which donors are exported, and the field group we choose here determines what information about each donor is written out. To see which exact fields a specific field group contains, you may click on the Setup button with the field group highlighted. Since the Mailing House field group is a predefined field group provided with DonorQuest, you may view the Setup for it, but you can't make any changes, so DonorQuest will display a brief message to that effect before allowing you to see how the group is setup.
So, before doing the export, highlight the Mailing House field group, click on the Setup button, and click OK on the message about not being able to make any changes. You should see:
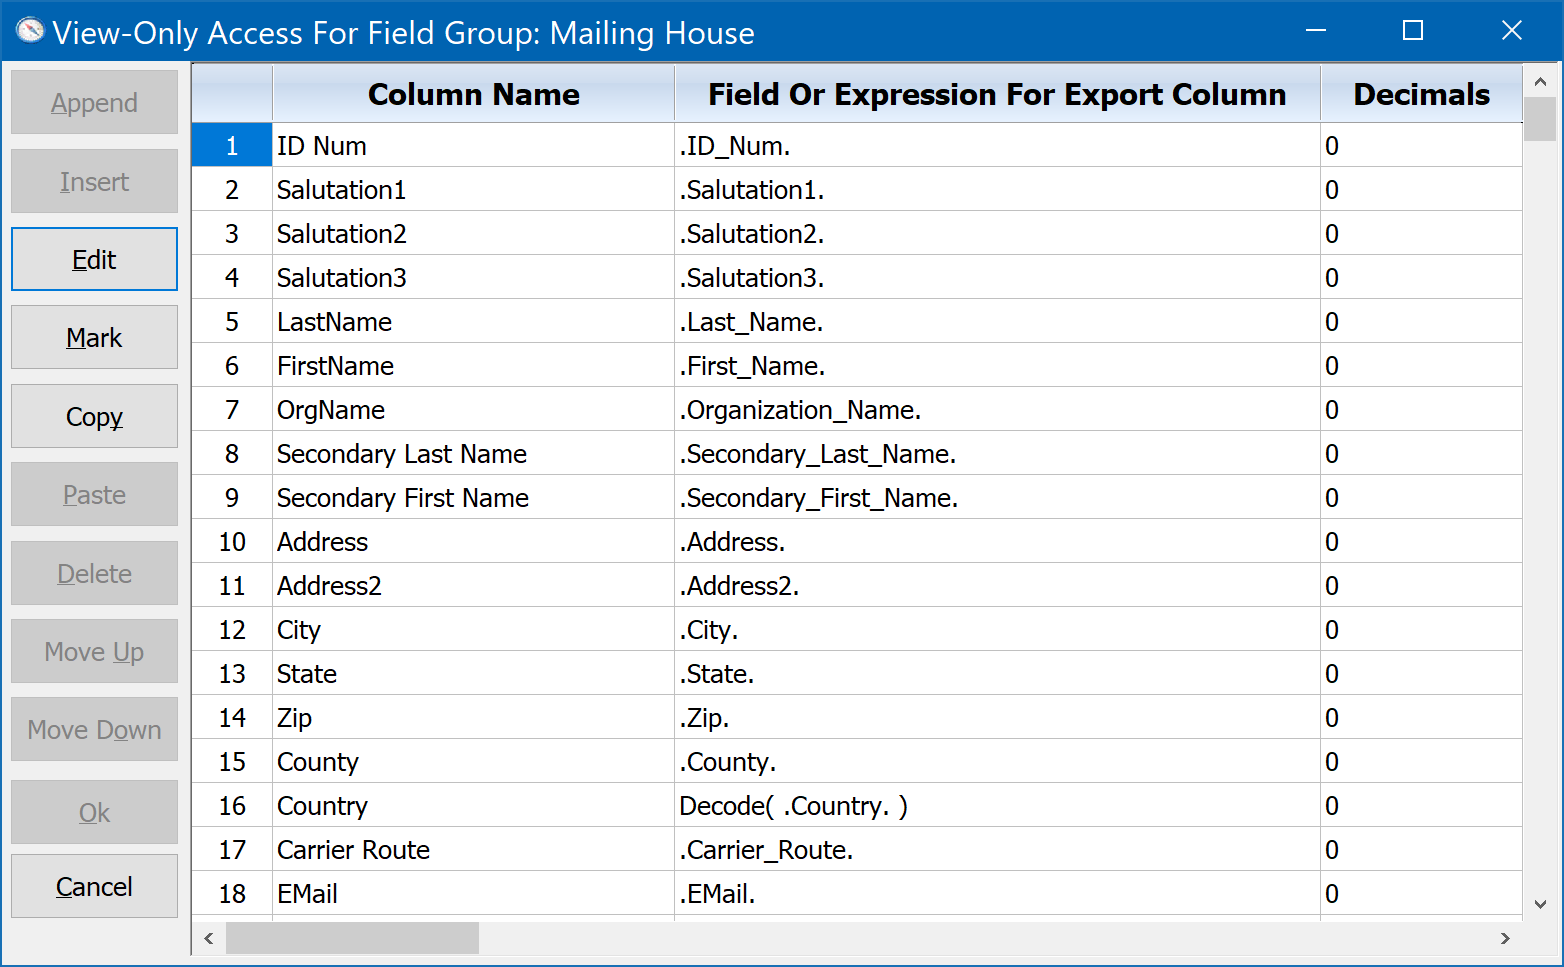
As with reports in DonorQuest, it is possible to create custom versions of the stock field groups provided with DonorQuest, so that you may specify exactly which columns you would like the export file to have. To do this, use the Copy button on the export dialog to copy the stock field group which is closest to what you want. Then click the Setup button on the copy you made to customize it.
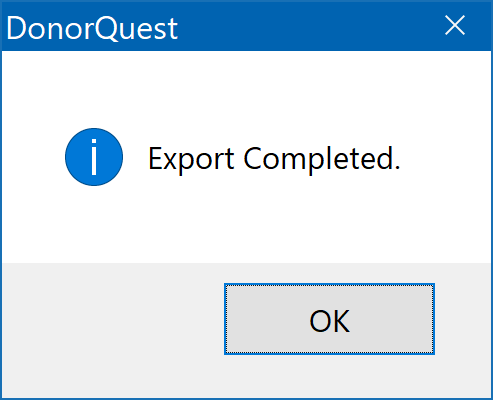
If we use the stock Mailing House field group, then the columns shown above are the data columns which will be written to the export file, for each record in the selection result. Click Cancel, then perform the export by clicking on the Begin Export button of the export window. You should see the following confirmation that the export has been completed:
If you followed the example above, the data file, Example.csv, will be in your \DQuest\Output\ folder. You may email this file, open it in another program, etc.