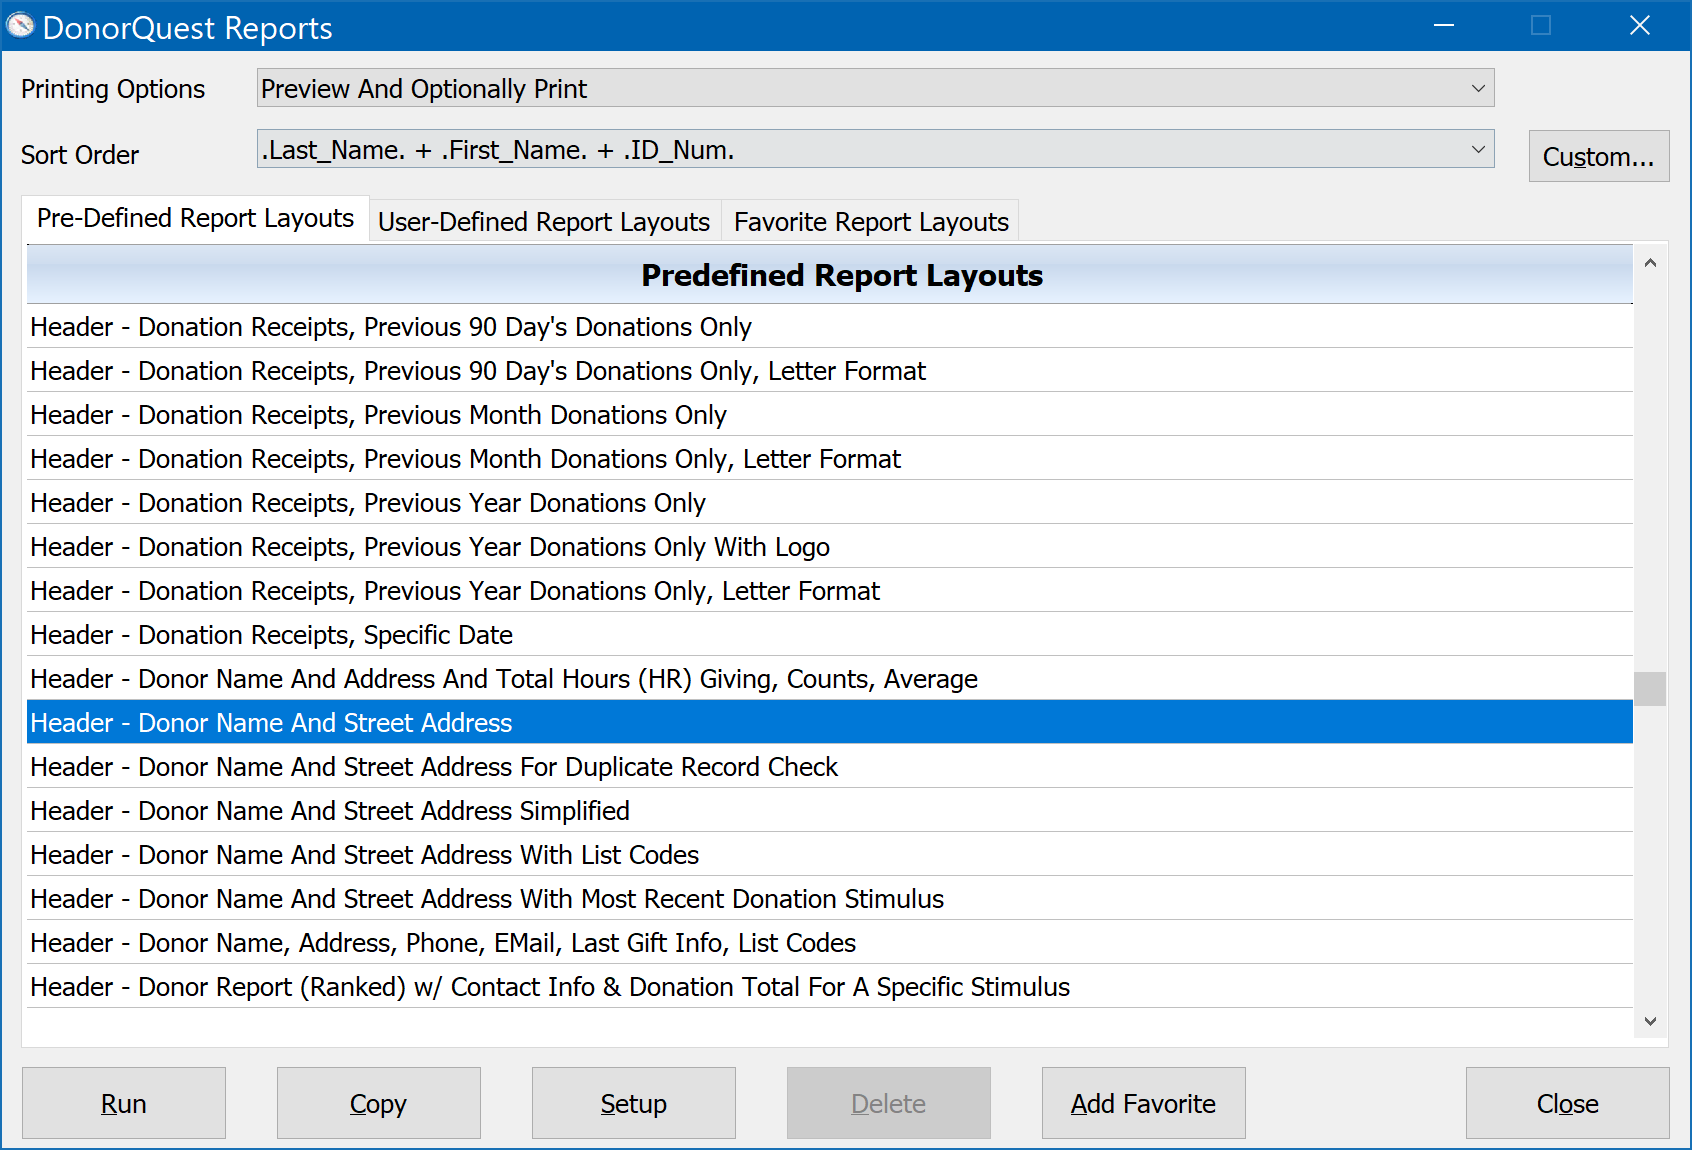
To create a new report layout, you will need to first find an existing report layout that is somewhat close to what you would like to create, and use that as a starting point. As an example, let's look a basic report layout provided with DonorQuest titled, "Header - Donor Name And Street Address." Starting with all DonorQuest windows closed (so that DonorQuest won't think you want to print a selection or the currently displayed donor record if the Main Information window is open), click on the Print button of the DonorQuest toolbar to open the main report menu, then highlight the "Header - Donor Name And Street Address" report as shown here:
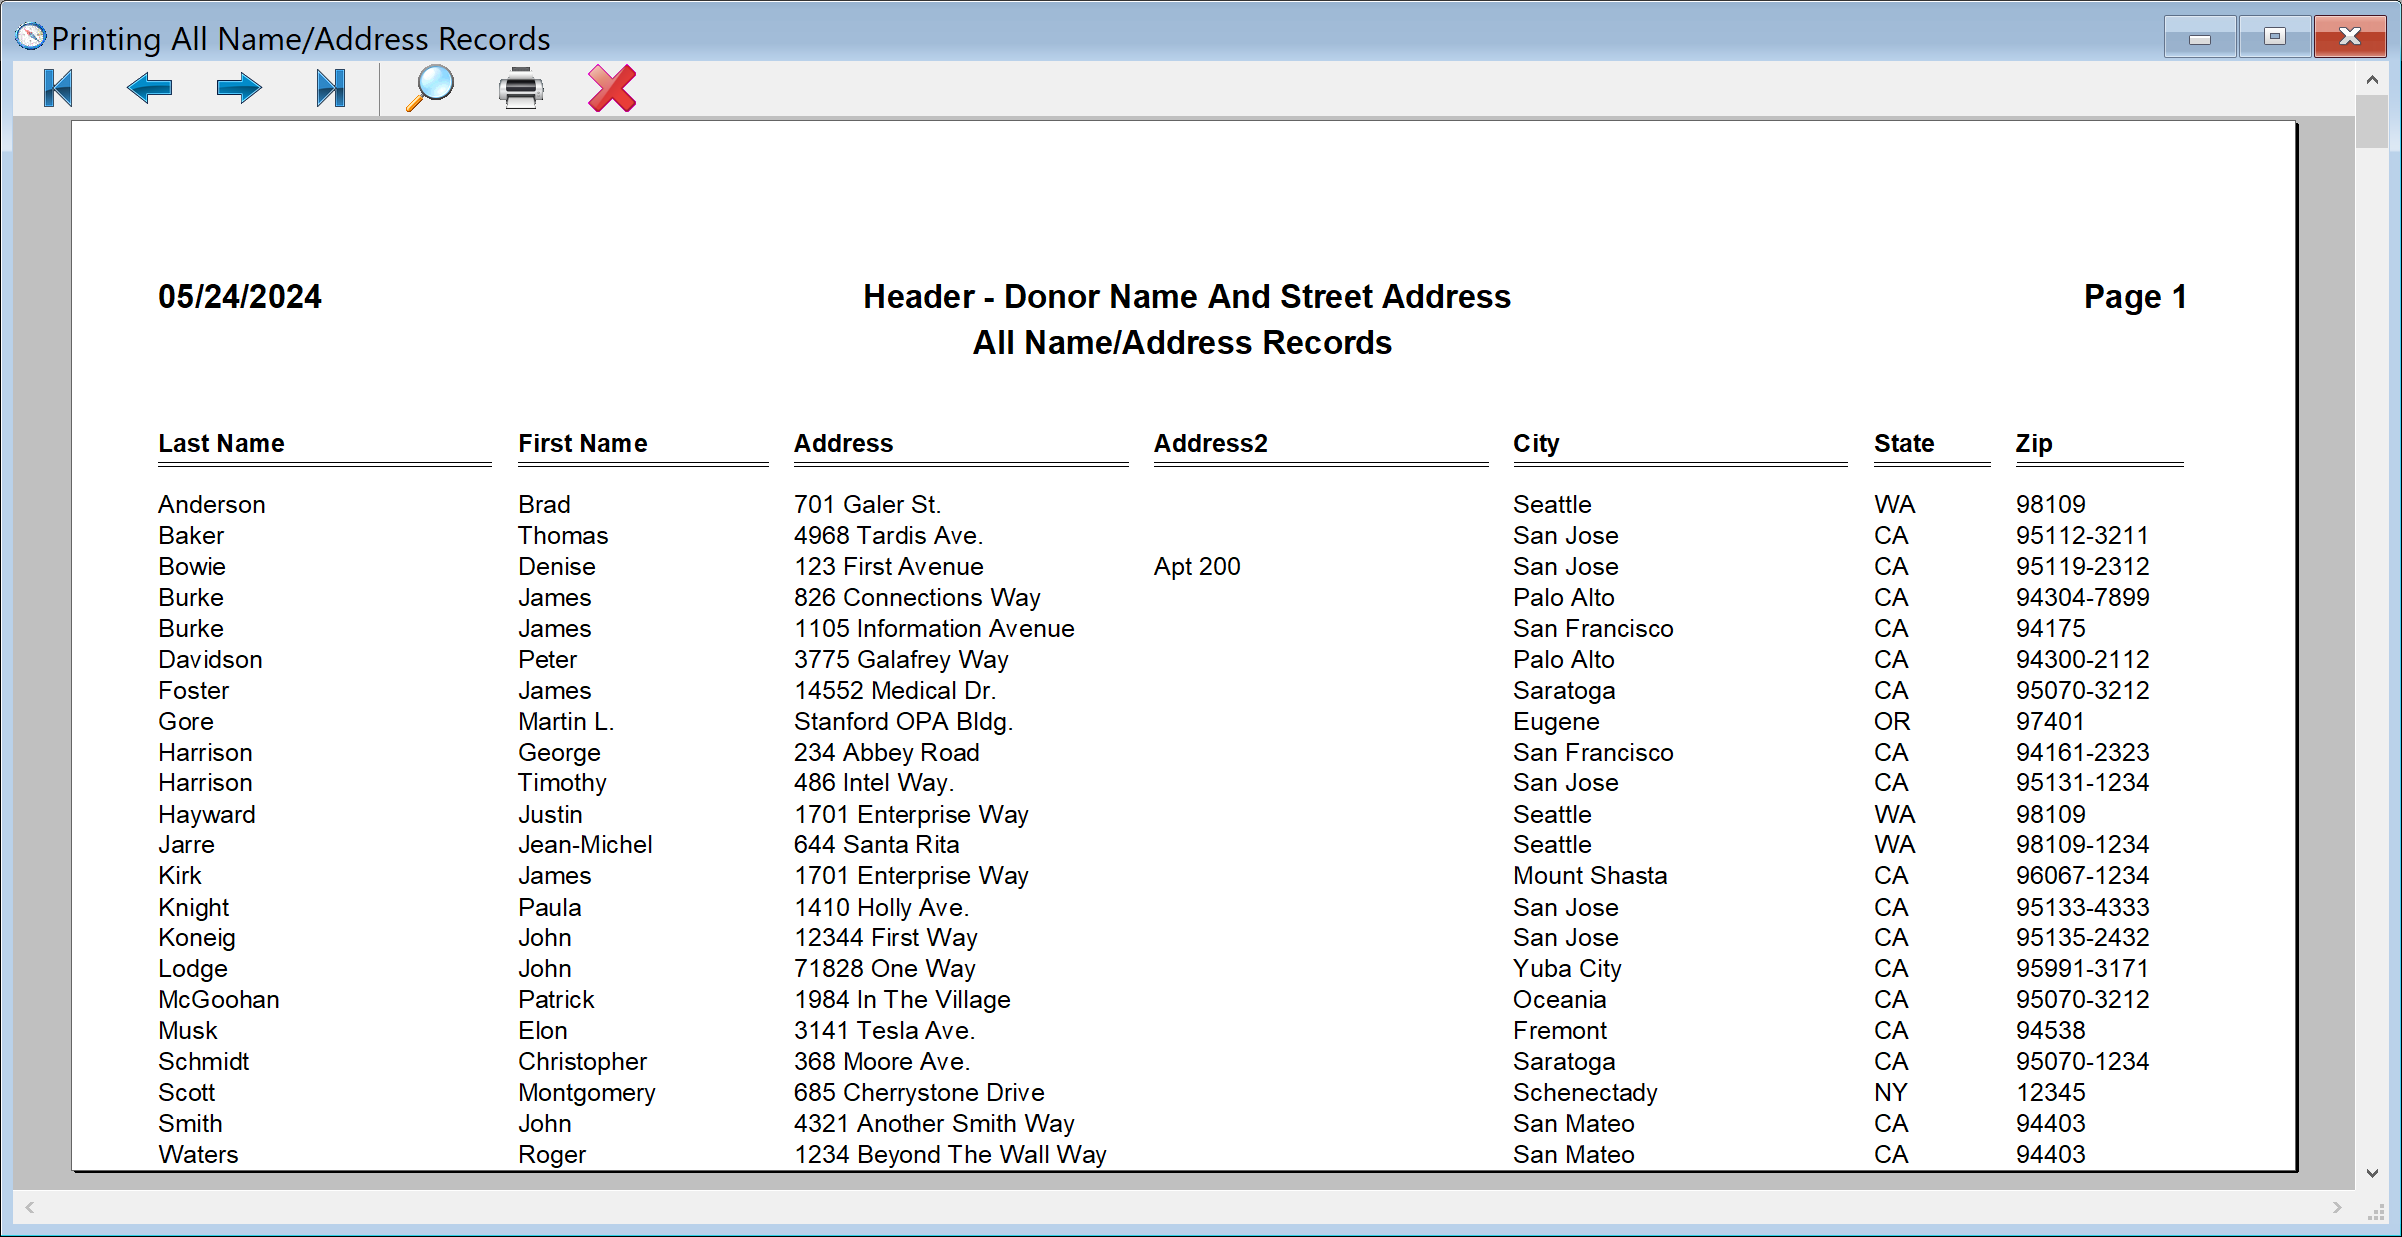
If we run the report in preview mode, we can see that indeed it simply has the donor name and street address, as shown here:
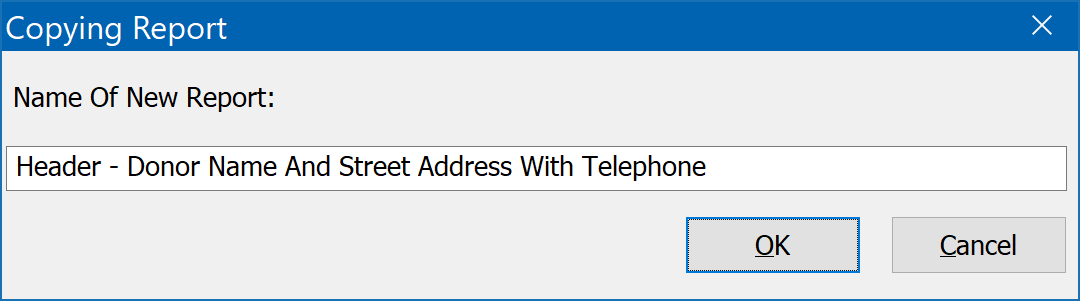
Now let's say we want to create a custom version of this report which also includes the main telephone number for each donor. To do this, close the preview and go back to the DonorQuest Reports window. With the, "Header - Donor Name And Street Address" report still highlighted, click on the Copy button of the DonorQuest Reports window. A Copying Report dialog will open. Enter the following:
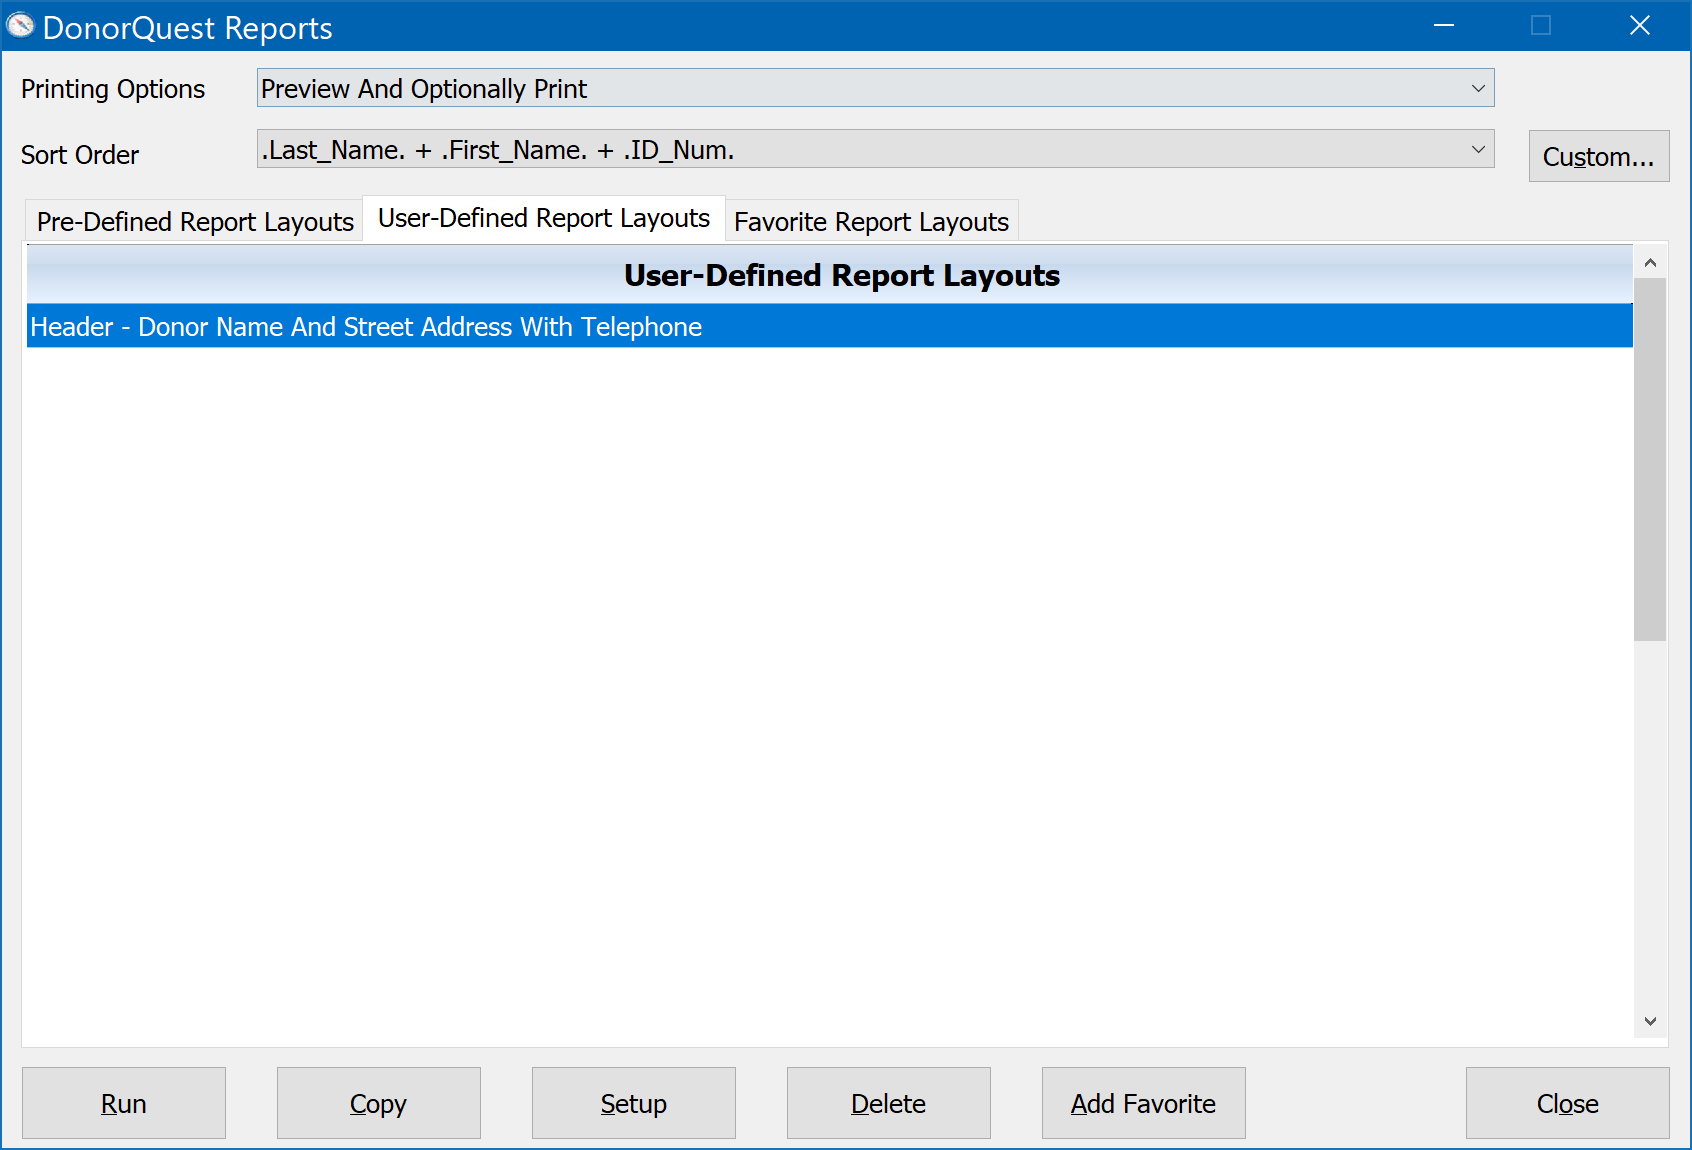
Click the Ok button. You should see that the Reports window switches to the User-Defined Report Layouts tab, which will show your new report, like this:
At this point the new custom report is different in name only -- it still has exactly the same columns as the original we copied from. Now to customize our new report with the Telephone field, click on the Setup button. This will open the Report Setup dialog, which looks like this:
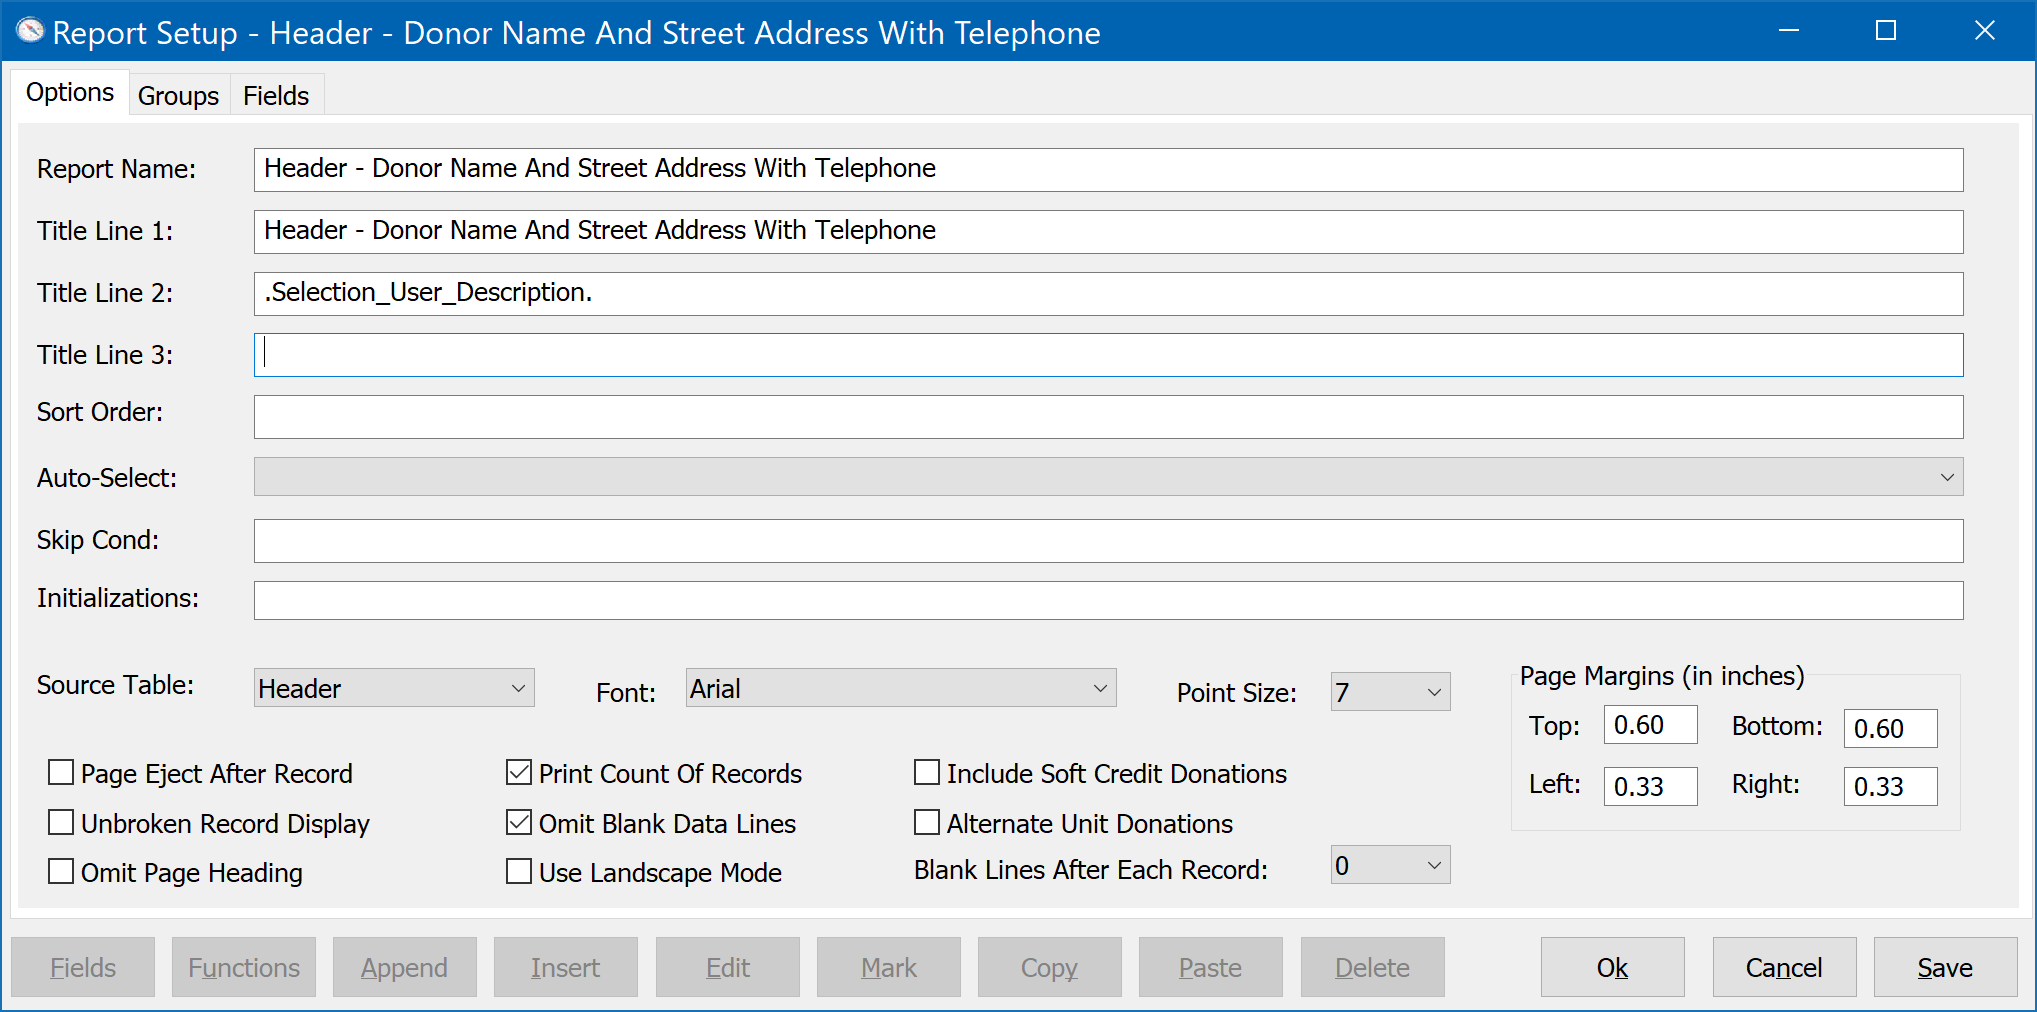
Copy the full name of the report shown in the Report Name to the Title Line 1 blank. This way the title of the report on the DonorQuest Report Menu will be the same as that which prints at the top of each page for the report. This is important to do so that for any given printed report you have, you can always know which report layout was used to print it.
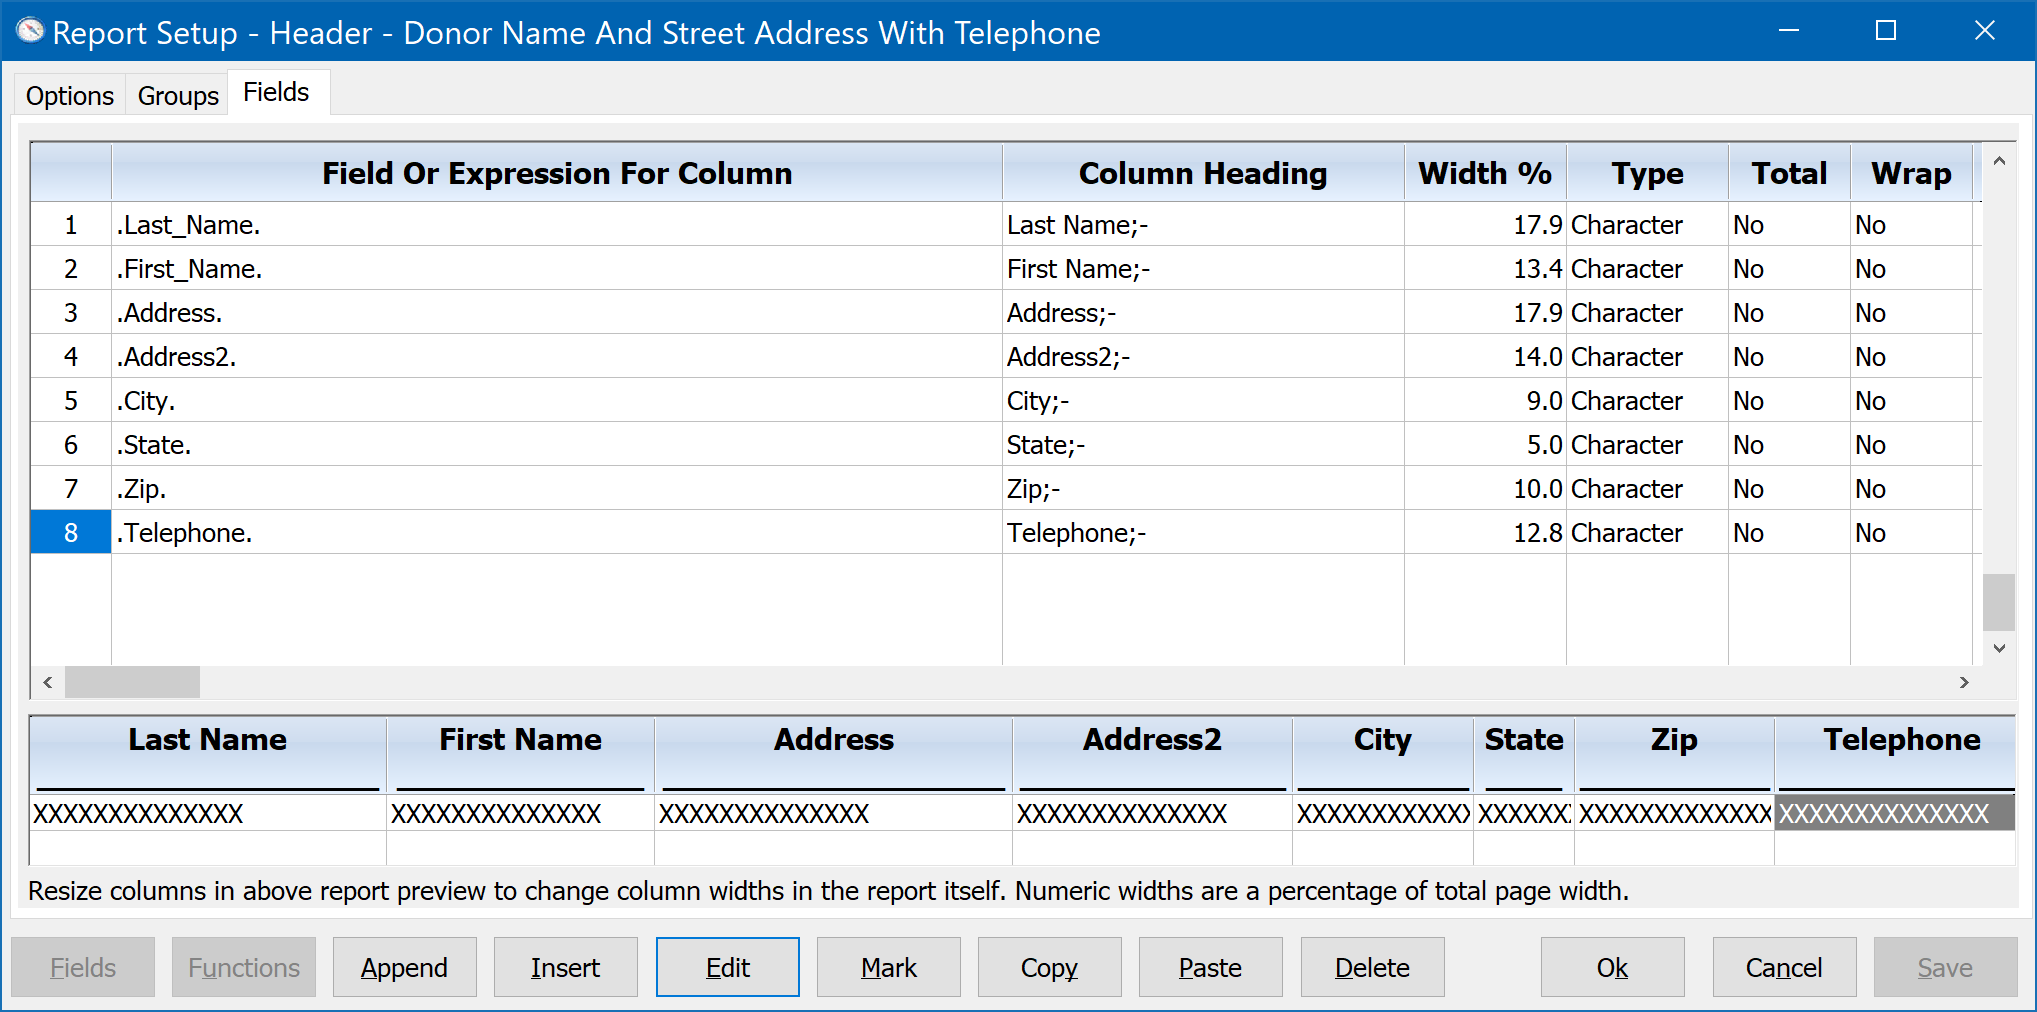
The Report Setup dialog is broken down into three tabs. There are help topics explaining the functionality of each of these tabs, but to complete our example click on the Fields tab. You should see:
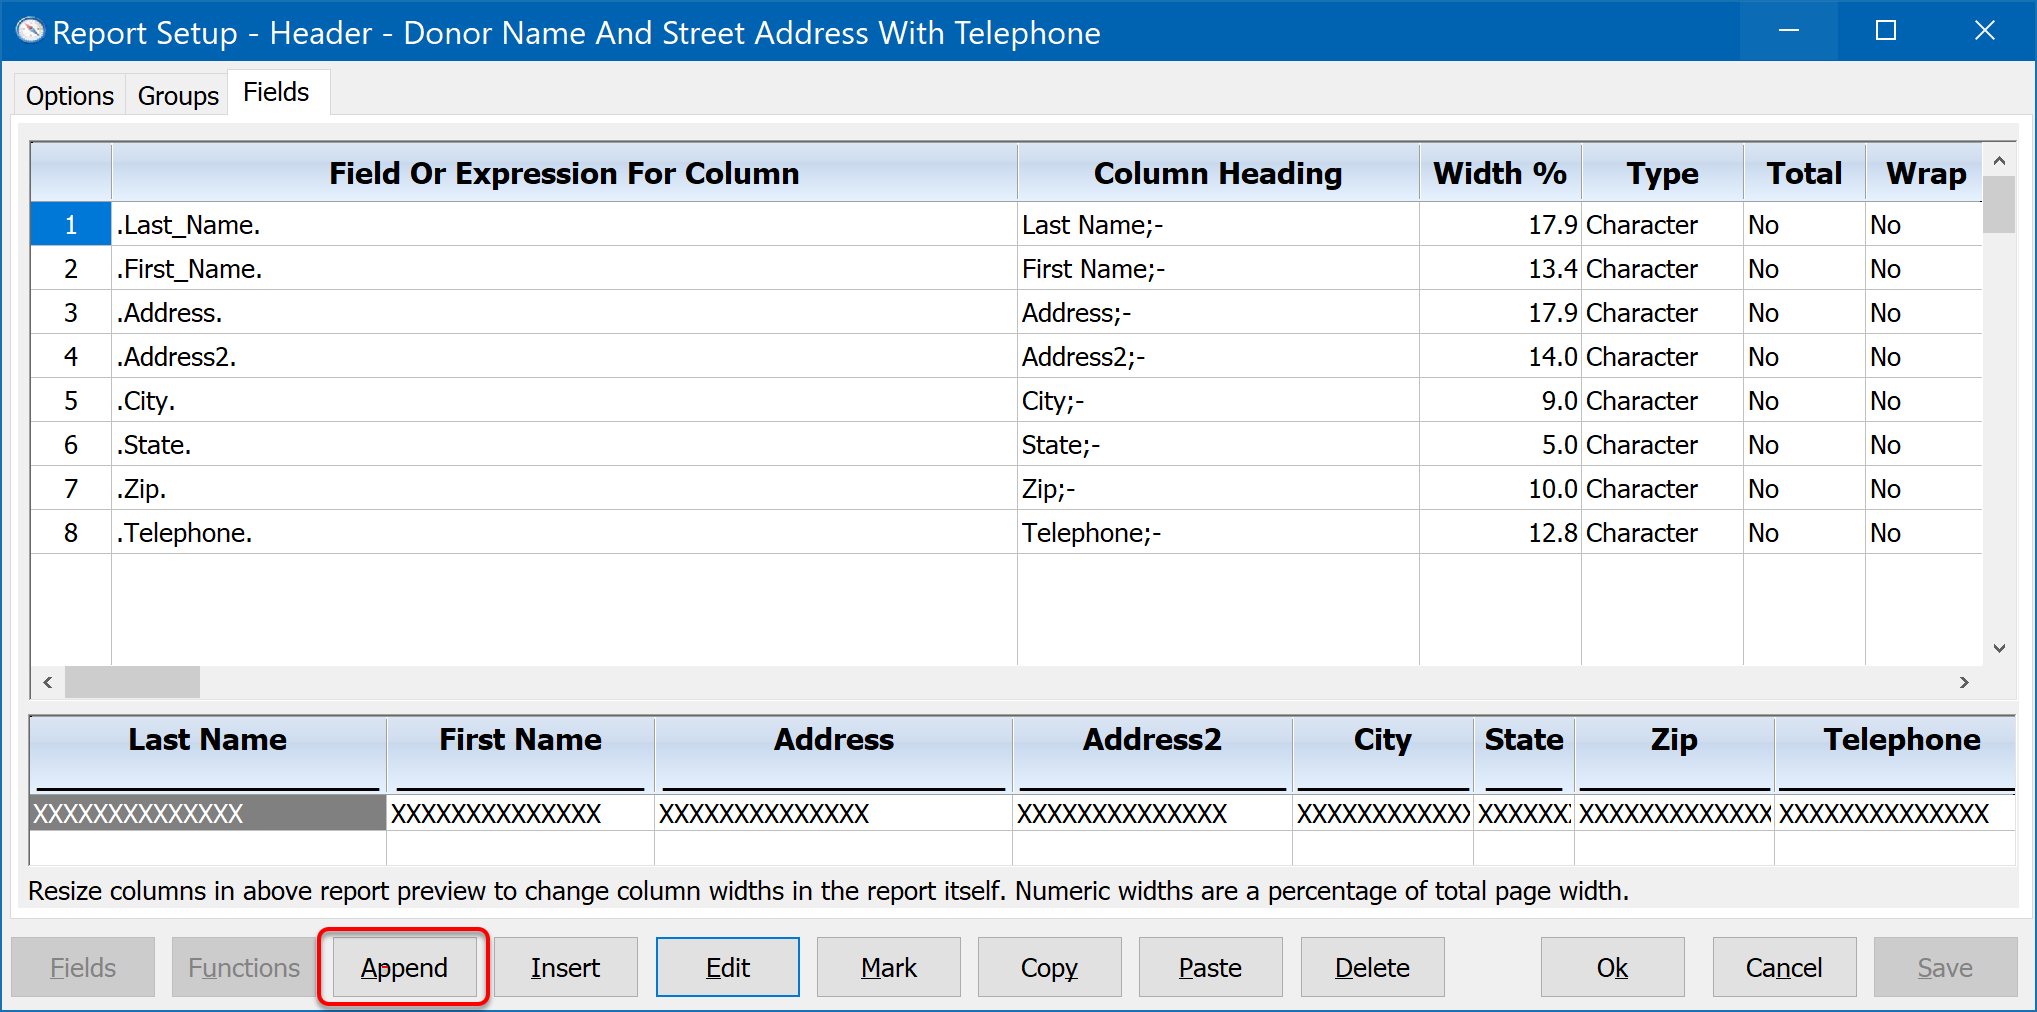
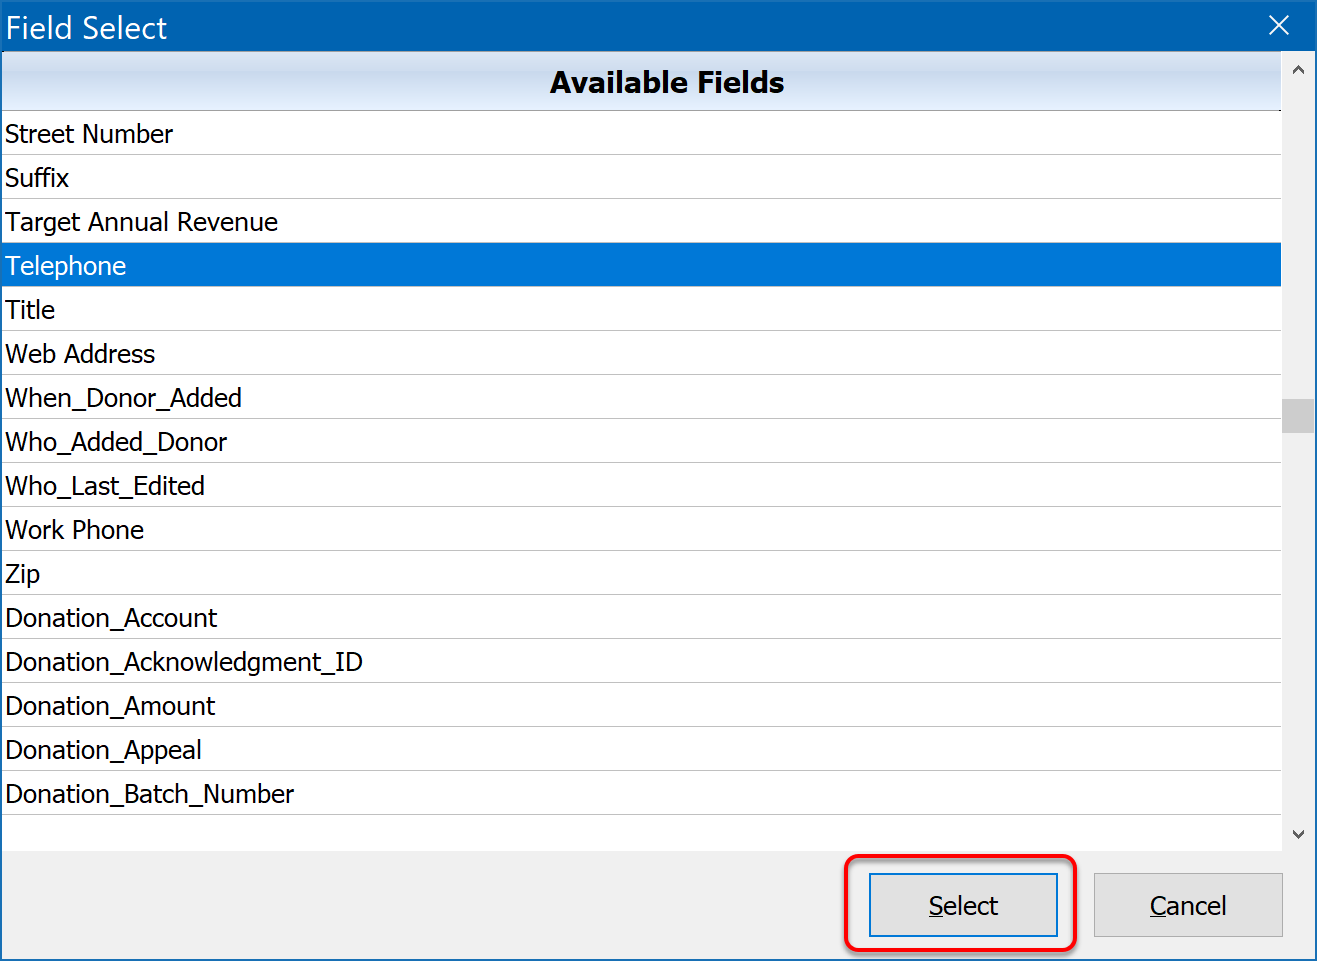
Notice there are two window panes -- the first with each line representing a column in the report (Last Name, First Name, Address, etc), and the second pane showing a sample depiction of the report columns. Our goal is to add the telephone field as a new column after the zip code. To do this, click on the Append button. You will then see the Field Select menu. Simply highlight the field you would like to add to the report (Telephone in our example) and click the Select button, or simply double-click the name of the field you want to add. The field menu looks like this:
You will see the Report Setup window update to now have a new telephone field following the zip code. However, as you will notice, the new telephone column is too small. DonorQuest took the last column which was in the report -- the zip code column -- and reduced its width by half, giving the other half to the new telephone column. But you are able to resize the new assortment of report columns, distributing available page width more equitably. Column widths are based on a percentage of the available horizontal page width. So, when you add up the percentage allocation for all columns, it should come to 100%. You can resize any column, giving it more width. But the increased width for a column has to come from somewhere, so DonorQuest takes it from the columns to the right of the column you are resizing. Likewise, if you shrink a column, the space is given to the columns to the right of the one being resized.
For example, lets shrink the Address2 column and see the effect it has on the columns to the right of it. Position the mouse pointer on the boundary between the Address2 and the City columns in the sample report pane, like this:
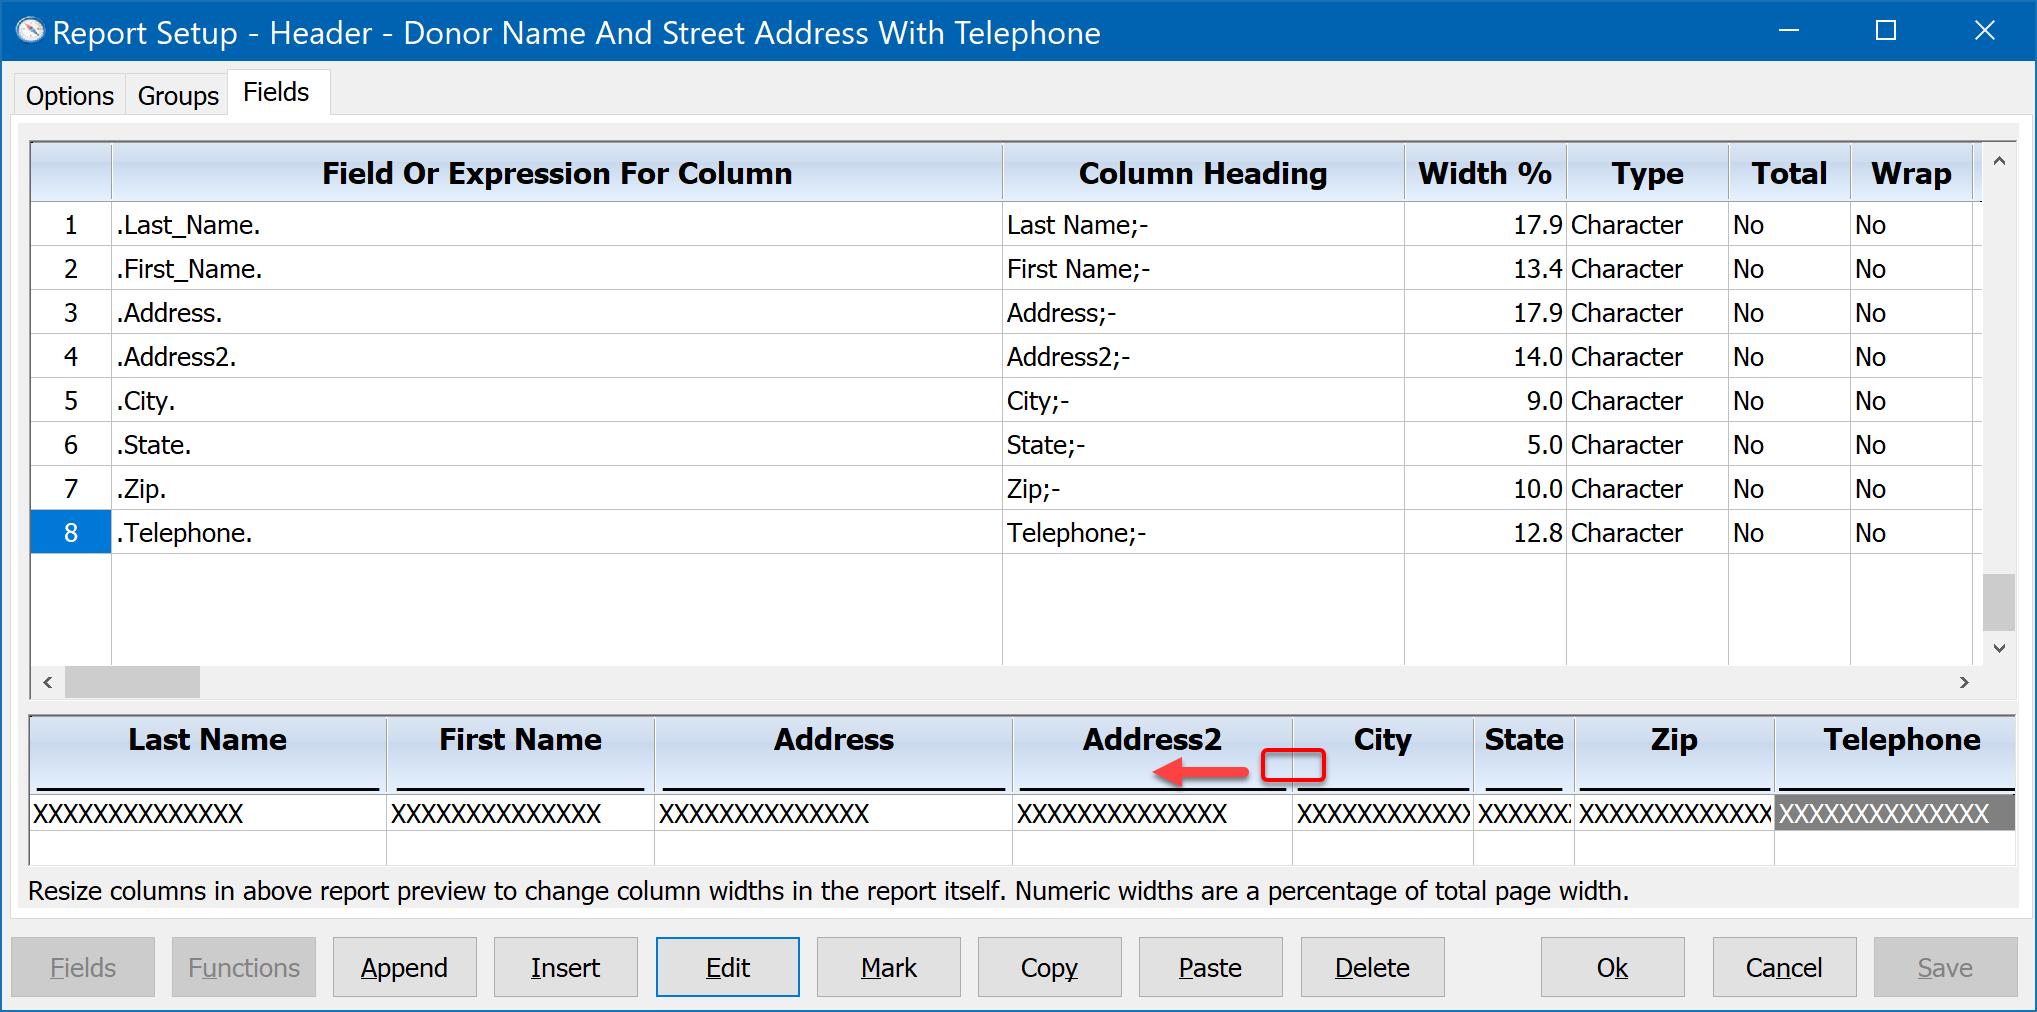
With the mouse pointer positioned in the area circled in red above, you should see the mouse pointer change to a bidirectional arrow like this <-->. With the left mouse button held down, drag the column boundary to the left, shrinking the Address2 column to about half its current size, then release the mouse button. Notice how the column to the right gained the space you freed up by shrinking the Address2 column. Repeat this process for the City, State, and Zip columns. You should now have a more equitable distribution of horizontal space between the columns, like this:
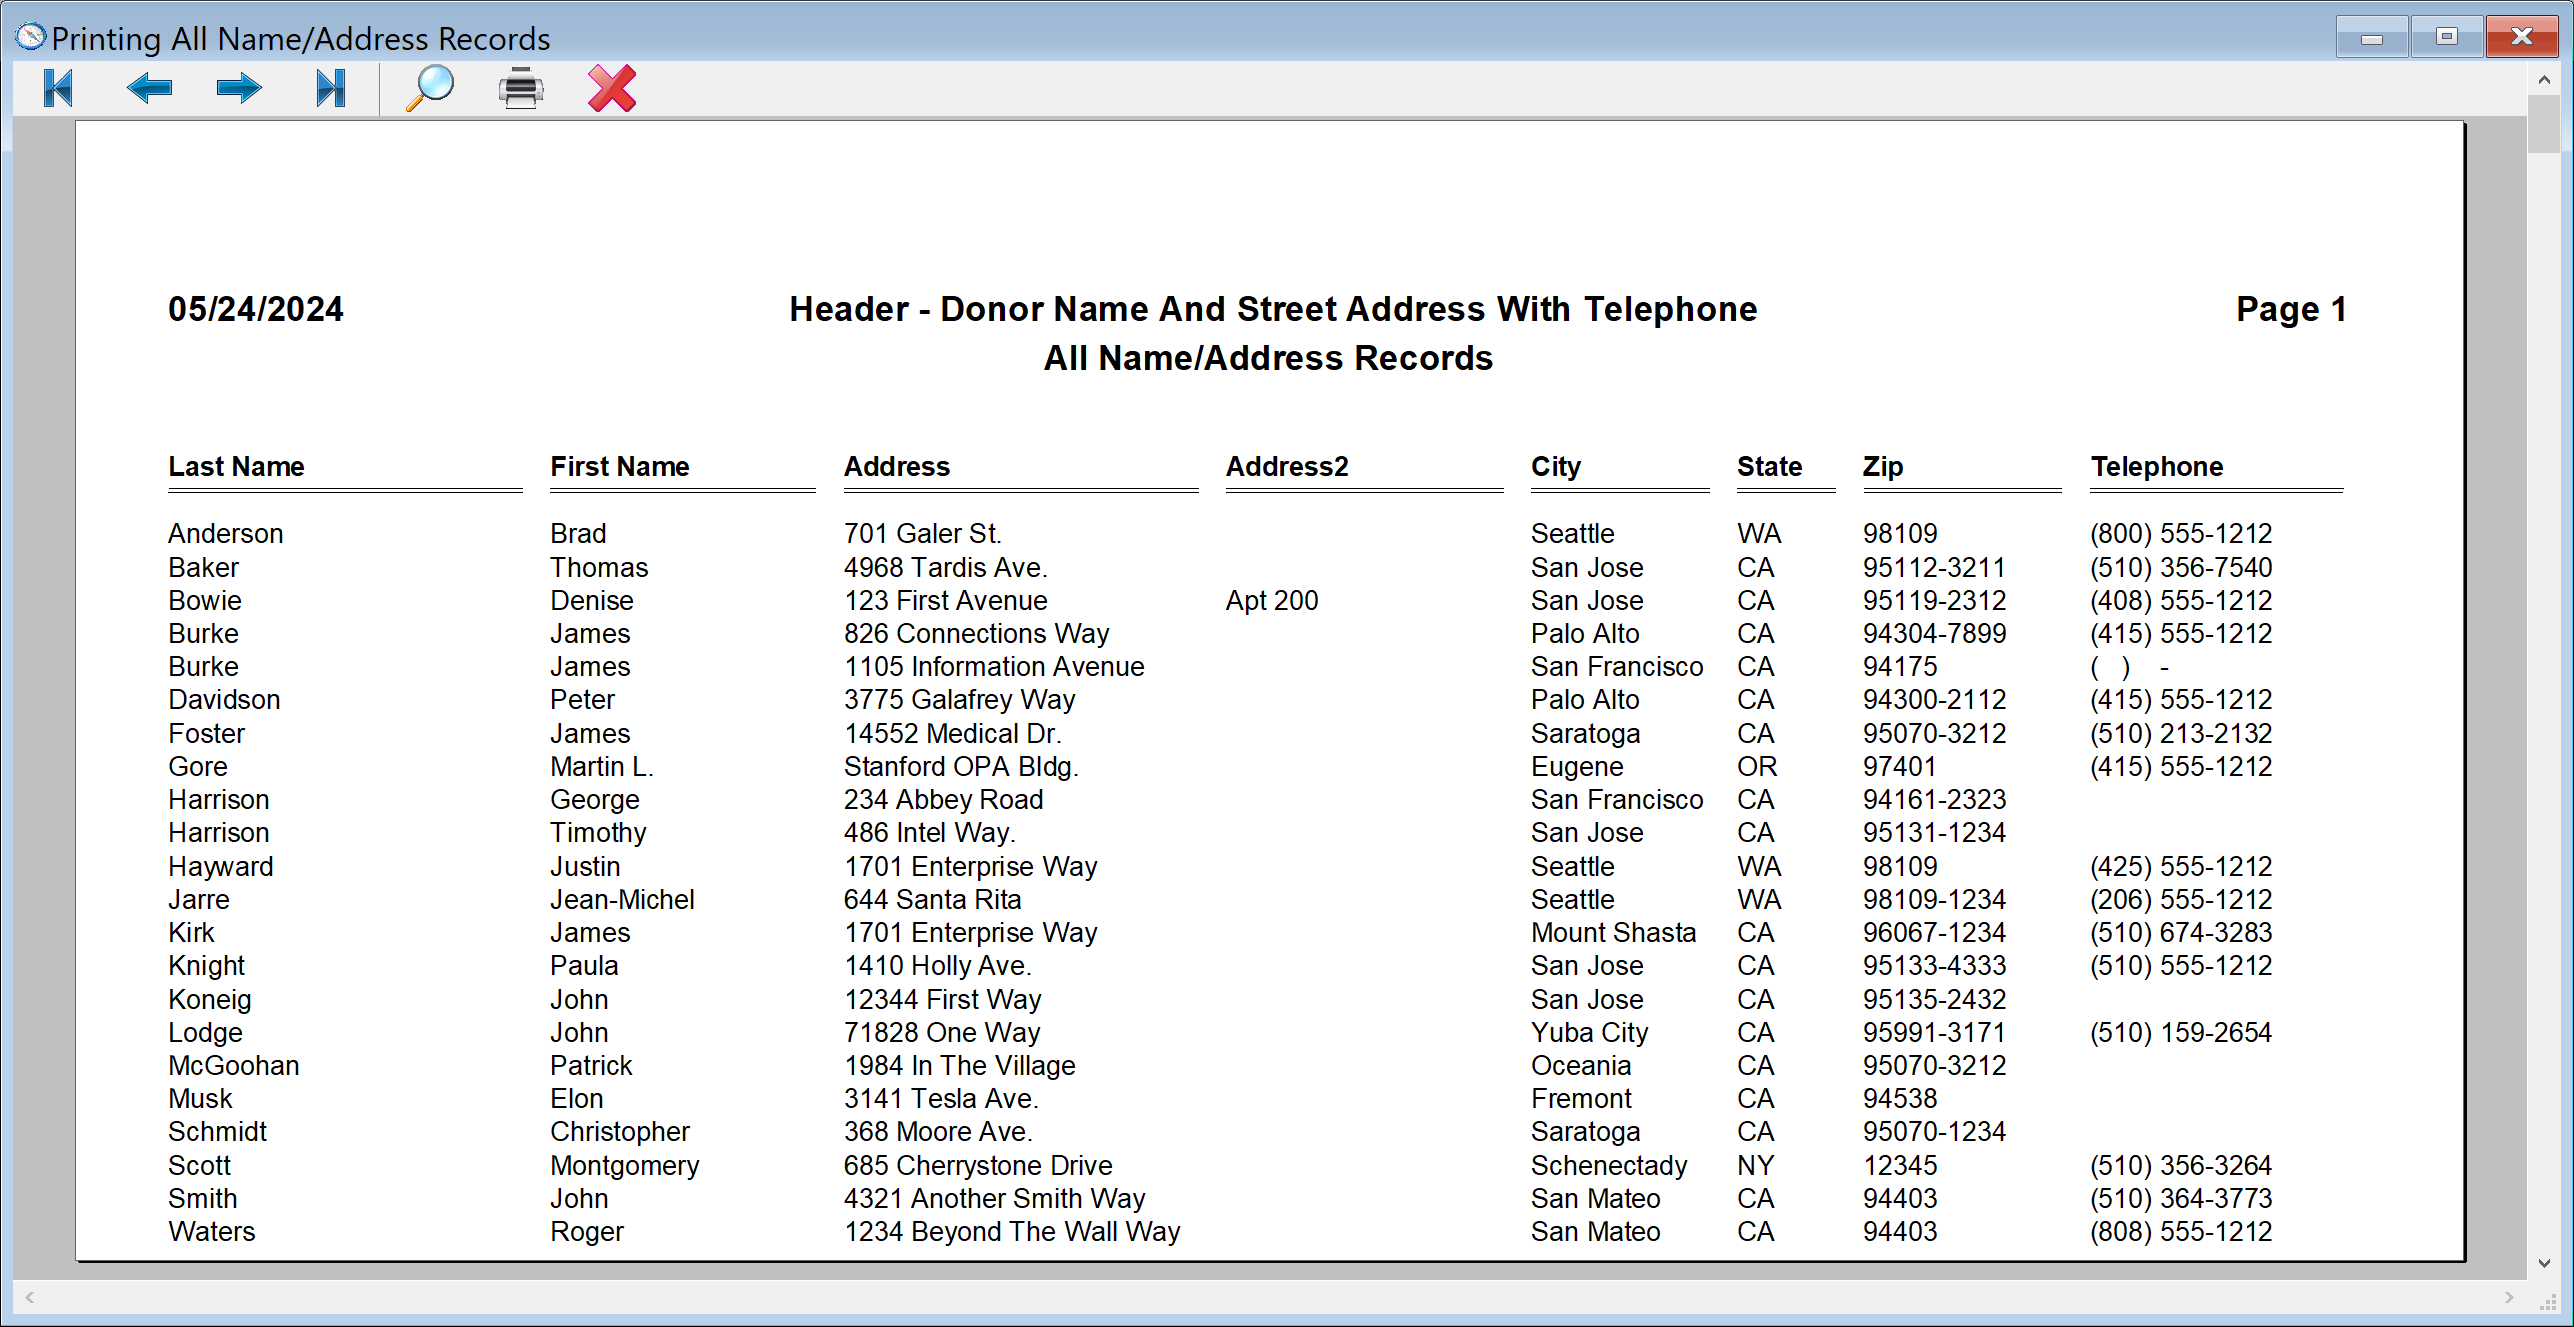
Click OK to save the changes to our new custom report, and then click the Run button of the DonorQuest Reports window to see a preview of our new custom report. It should look something like this:
Deleting Report Layouts
The Delete button of the DonorQuest Reports window will delete the currently highlighted user-defined report. Predefined report layouts can not be changed or deleted, so the Delete button will be inactive when the Pre-Defined Report Layouts tab is selected.