An example Excel spreadsheet is included with your DonorQuest installation named, "Example For DonorQuest Import.xlsx." It is located in your \DQuest\ folder, and is included so that you may practice saving an Excel file out to a standard Tab-Delimited text file, which is then compatible with the DonorQuest import. If you are using the online version of DonorQuest, you may download the sample file to your computer using this link: www.DonorQuest.com/downloads/ExampleForDonorQuestImport.xlsx
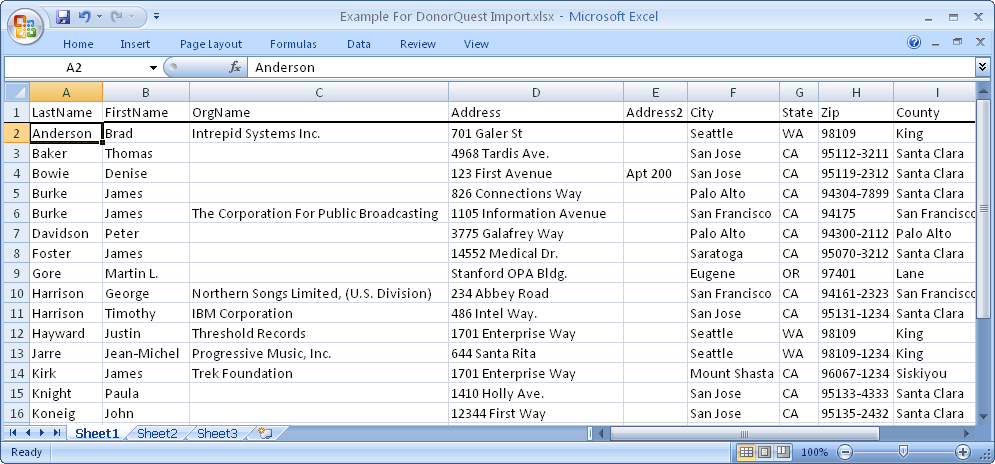
The example spreadsheet looks like this:

So let's save the spreadsheet in Text (Tab-Delimited) format. How you do this varies depending on your version of Excel (and we all know Microsoft loves to change where features are to make things look "new"), here is how you do it in the version of Excel included with Office 2007:
From the Other Formats menu, choose Text (Tab delimited) (*.txt) for the Save As Type, and accept the file name as it is (it will be the same as the spreadsheet file name, but with a txt extension). It will look about like this:
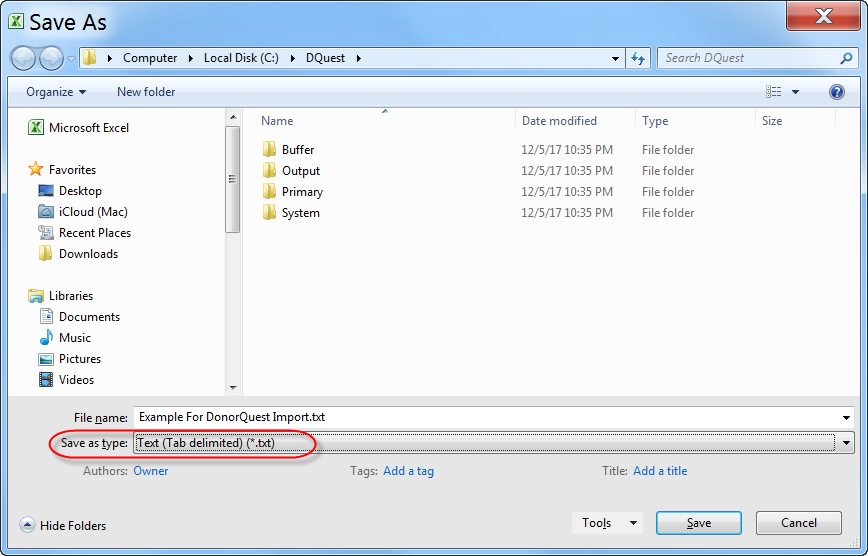
Click the Save button on the Save As window. Excel will show you the following confirmation dialog:

This is simply saying that nothing fancy in the spreadsheet (like pictures or graphs) will be saved in the output file -- only textual, numeric, and date values will be written out from the active sheet -- which is what we want. Click Yes. Despite the confusing language, this will not affect the spreadsheet you have open, it only applies to the new file being created.
Now, finally you should have a standard tab-delimited file you can import directly into DonorQuest using the File, Import, Donor Data option.