The process for printing mailing labels in DonorQuest is similar to printing reports. As with reports, all labels are user-configurable. For each label, the definition of which fields to print, and the layout in which to print them is completely under your control. DonorQuest is shipped with several label layouts already defined for you. This topic will explain how to print using these label layouts, and any others that you may later define. The process of defining labels is covered in a separate topic on Creating And Editing Label layouts.
A special feature of the DonorQuest labels allows you to conditionally replace the printing of a donor's main address with one of the unlimited number of extra addresses the donor may have. For example, if some of your donors have two or more mailing addresses they move between throughout the year, you can specify the periods of time for which each address is valid. DonorQuest will then automatically substitute the appropriate extra address for each donor, based on the current date. No matter how mobile some of your donors happen to be, DonorQuest will know where to send their mail!
To print labels, first run a Selection of the donors and/or prospects you want to print labels for. Once you have a selection result to use, click on the Print Labels button of the Selection Results window. Say for example we had a selection named, "Acquisition Mailing List 1." When we click the Print Labels button, we will see the Label Print dialog open, which looks like this:
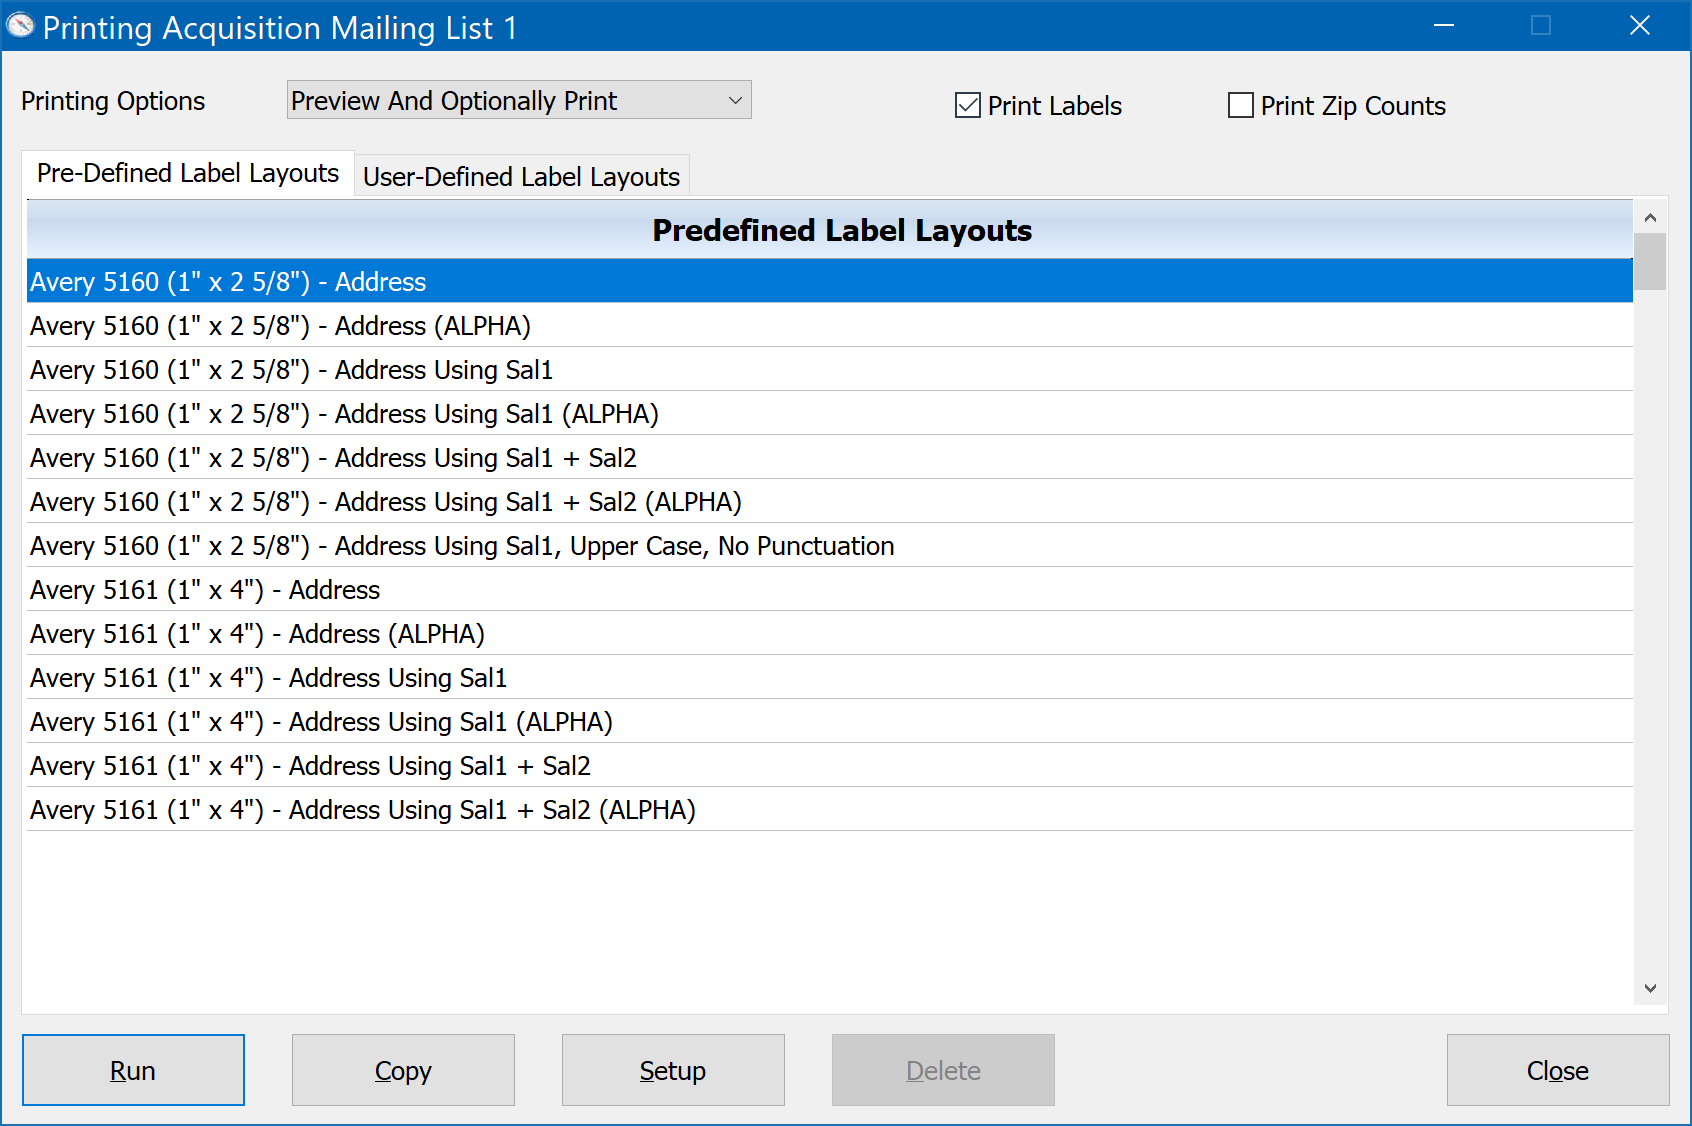
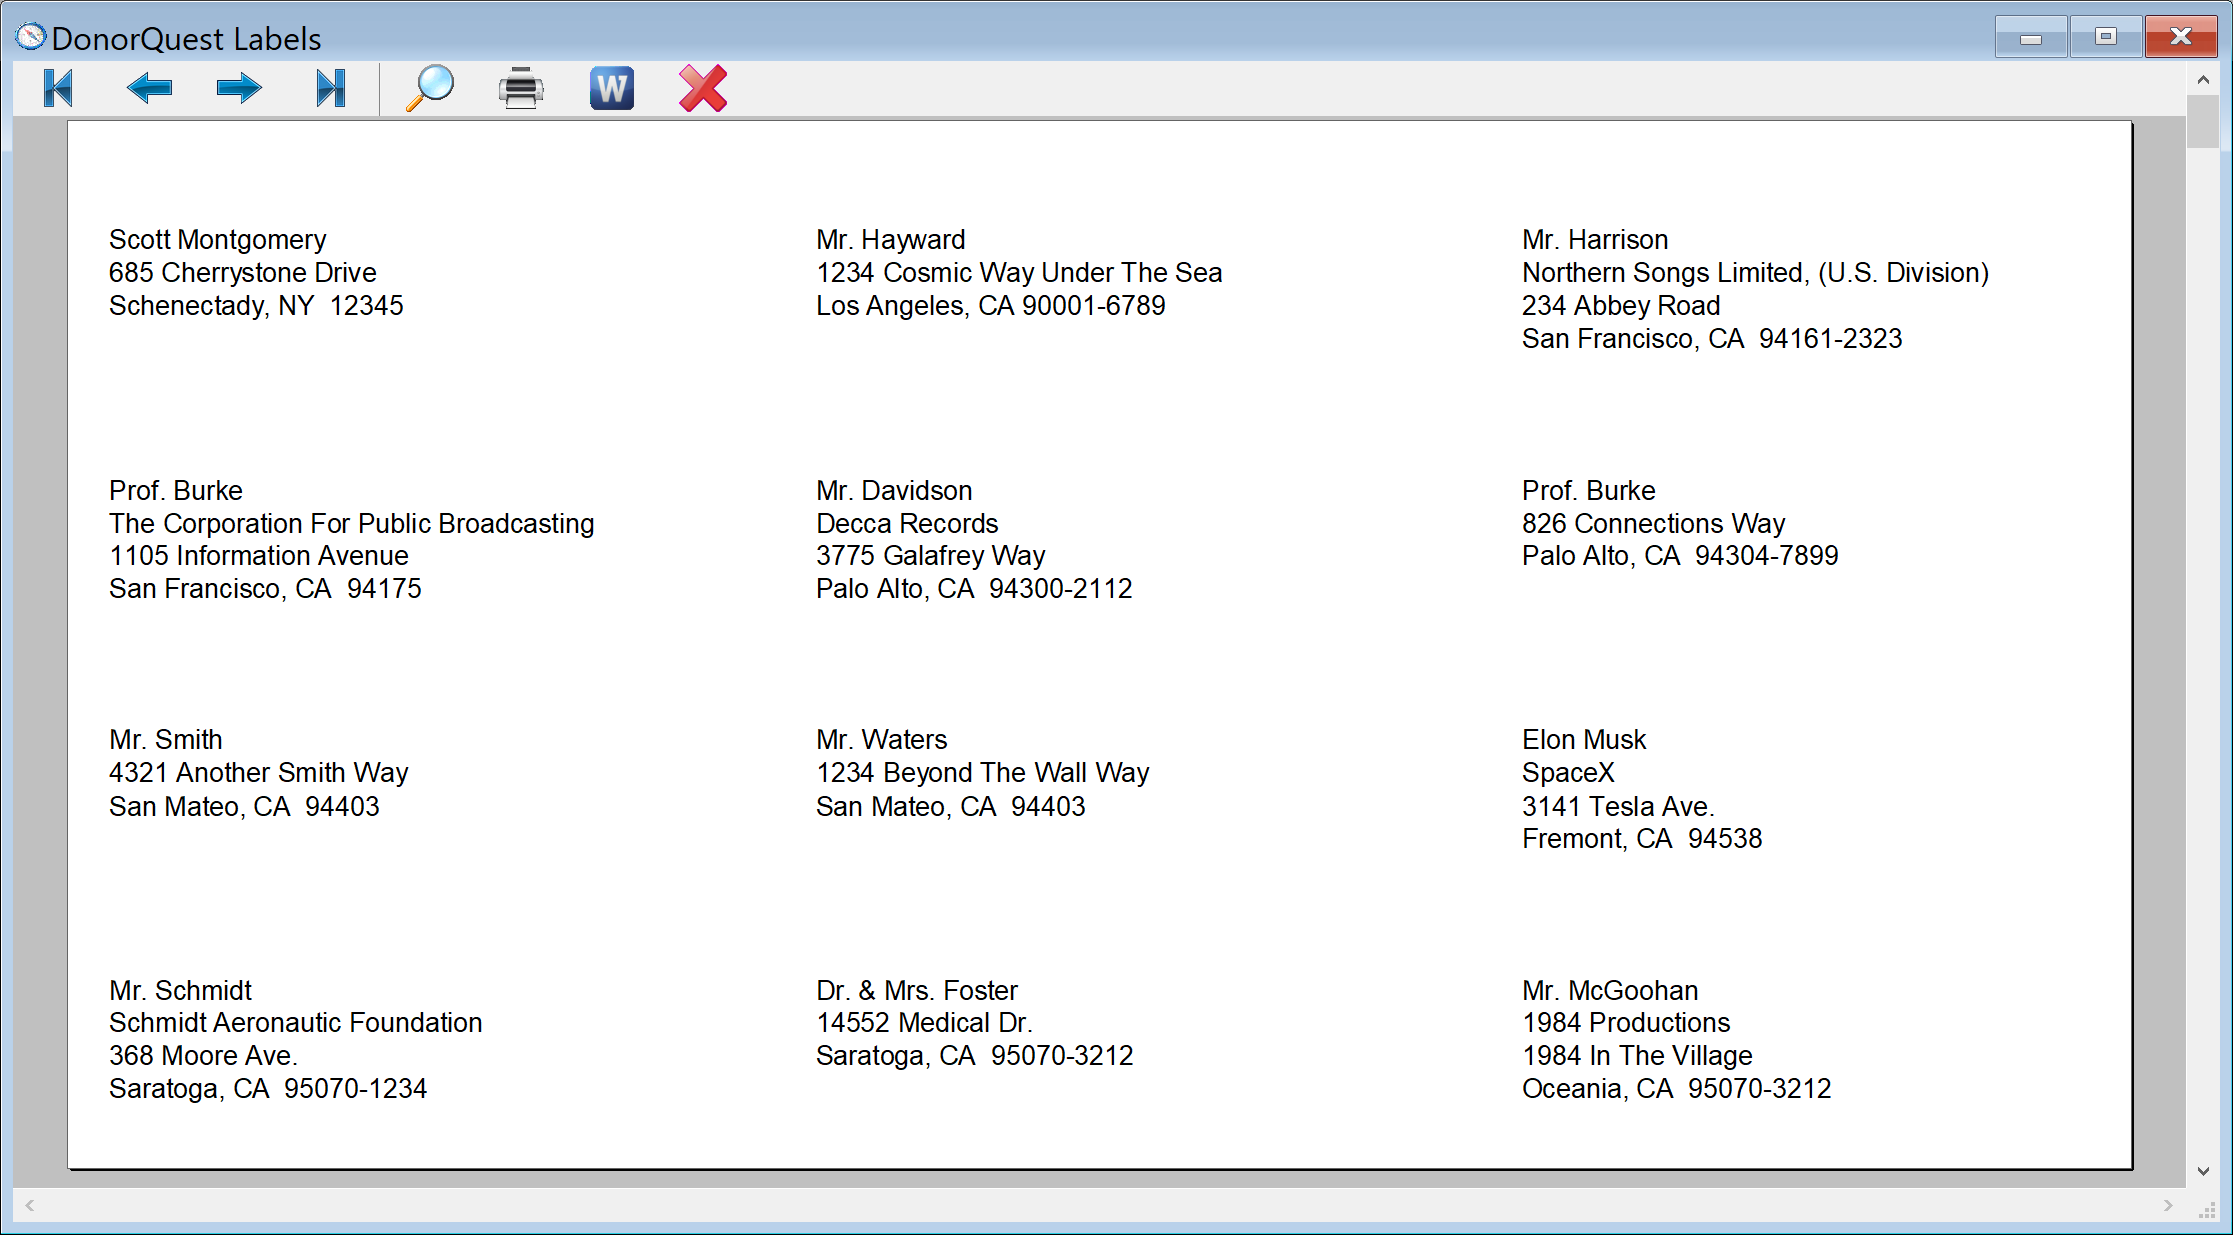
We can see that DonorQuest is making the connection between the selection we want to print and the label layout we want to use because the name of the selection will appear in the title bar of the label print dialog (shown above). In this example we are choosing the "Avery 5160 (1" x 2 5/8") - Address Using Sal1" layout. Be sure the Printing Options are set to, "Preview And Optionally Print." This way we will be able to see a preview of the labels before actually printing them. When we click on the Run button, we should see the label preview window, which looks like this:
Most labels are designed to print in zip code order. Some, which have "(Alpha)" in their names, will print in order by Last Name instead.