There are two ways to start the standard in-house version of DonorQuest. One is by double-clicking the DonorQuest icon you should find on your desktop which looks like this:
The other way is to click on the Windows Start button, then select Programs. From there, click on DonorQuest.
Note: If you are using the cloud-based version of DonorQuest, then you will instead have a Parallels icon on your desktop. You must first double-click on the Parallels icon, then double-click the DonorQuest icon which you will see inside the Parallels Client window. After that, all interaction will be the same for all versions of DonorQuest.
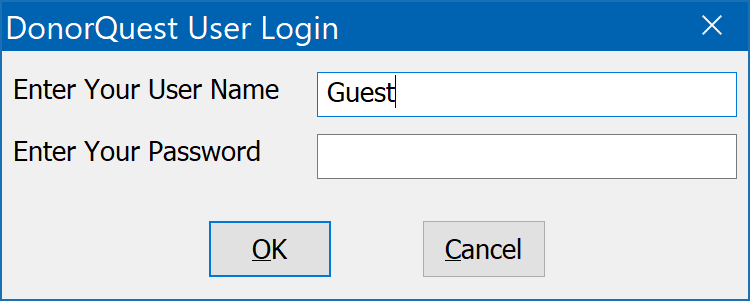
Once DonorQuest starts, you will be asked to enter your user name (see below). If you have just installed DonorQuest, and have not yet set up user accounts, then you should type Guest for the user name (no password is required).
Note that if you are using DonorQuest in a multi-user environment, you should speak with your administrator about setting up a DonorQuest user account for yourself, as the Guest account is just for temporary use. If you are both the administrator and main DonorQuest user, you should still create a user account for yourself so that the actions you perform (adding new addresses, donations, etc) will all be tagged with your name and a transaction date for reference purposes. As new people in your organization begin to use DonorQuest, their actions will likewise be tracked under their own unique user names. This is for more than simple accountability -- it allows reports to be run for information a specific user has entered for a given time period, or any other condition.
The chapters, Initial Setup, Program Settings, and System Maintenance are intended for the person who will administer DonorQuest. That is, the person who is responsible for setting up DonorQuest and maintaining it. This includes creating new user accounts with varying levels of access for the other people who will need to use DonorQuest. If you will only be using DonorQuest and are not responsible for administering its usage, you may skip over these chapters. If you are new to DonorQuest, the two most important chapters for you to read are the Quick Start Guide and Entering Information chapters. If your activities will be limited to data entry, then these two chapters are really all you need to read.